Starting & Ending Frames
Continuity, loops, and longer sequences

Starting & Ending Frames is one of the best tools for continuity and extending clips across generations.

Using a Start Frame is especially useful for extending or chaining clips. By setting the last frame of a previous clip as the next clip’s start frame, you can create smoother transitions and longer sequences with more consistent motion and identity.

The End Frame is optional, but it can steer where the motion resolves, reduce drift, and encourage cleaner loops. Video models are great at motion, but they can drift, and reference frames help anchor the clip.

Why it matters

Keep identity, composition, and motion more consistent from clip to clip.

How it works

Start Frame anchors the opening. End Frame guides where the shot lands.

Pro move

Reuse one clip’s End Frame as the next clip’s Start Frame to extend the sequence.

Once the first frame pair works, the rest of the sequence becomes much easier to chain.

Set the Starting Frame and Ending Frame based on how you want the video to begin and end. You decide the motion, the transformation, the camera feel, and the final look.

Then write what should happen between those two frames. Describe the change, the pacing, and the camera effect in the prompt section. If you want to extend the sequence, reuse the last frame of one clip as the next clip’s Start Frame and repeat the logic.

This is why the workflow scales so well: the same method can generate cinematic scenes, seamless transitions, tutorials, product visuals, polished marketing shots, and much longer sequences with better continuity.
A finished coffee sequence built from multiple start/end-frame clips and stitched inside Sogni Mixer.
Step 1

Open Image to Video in Sogni Create.

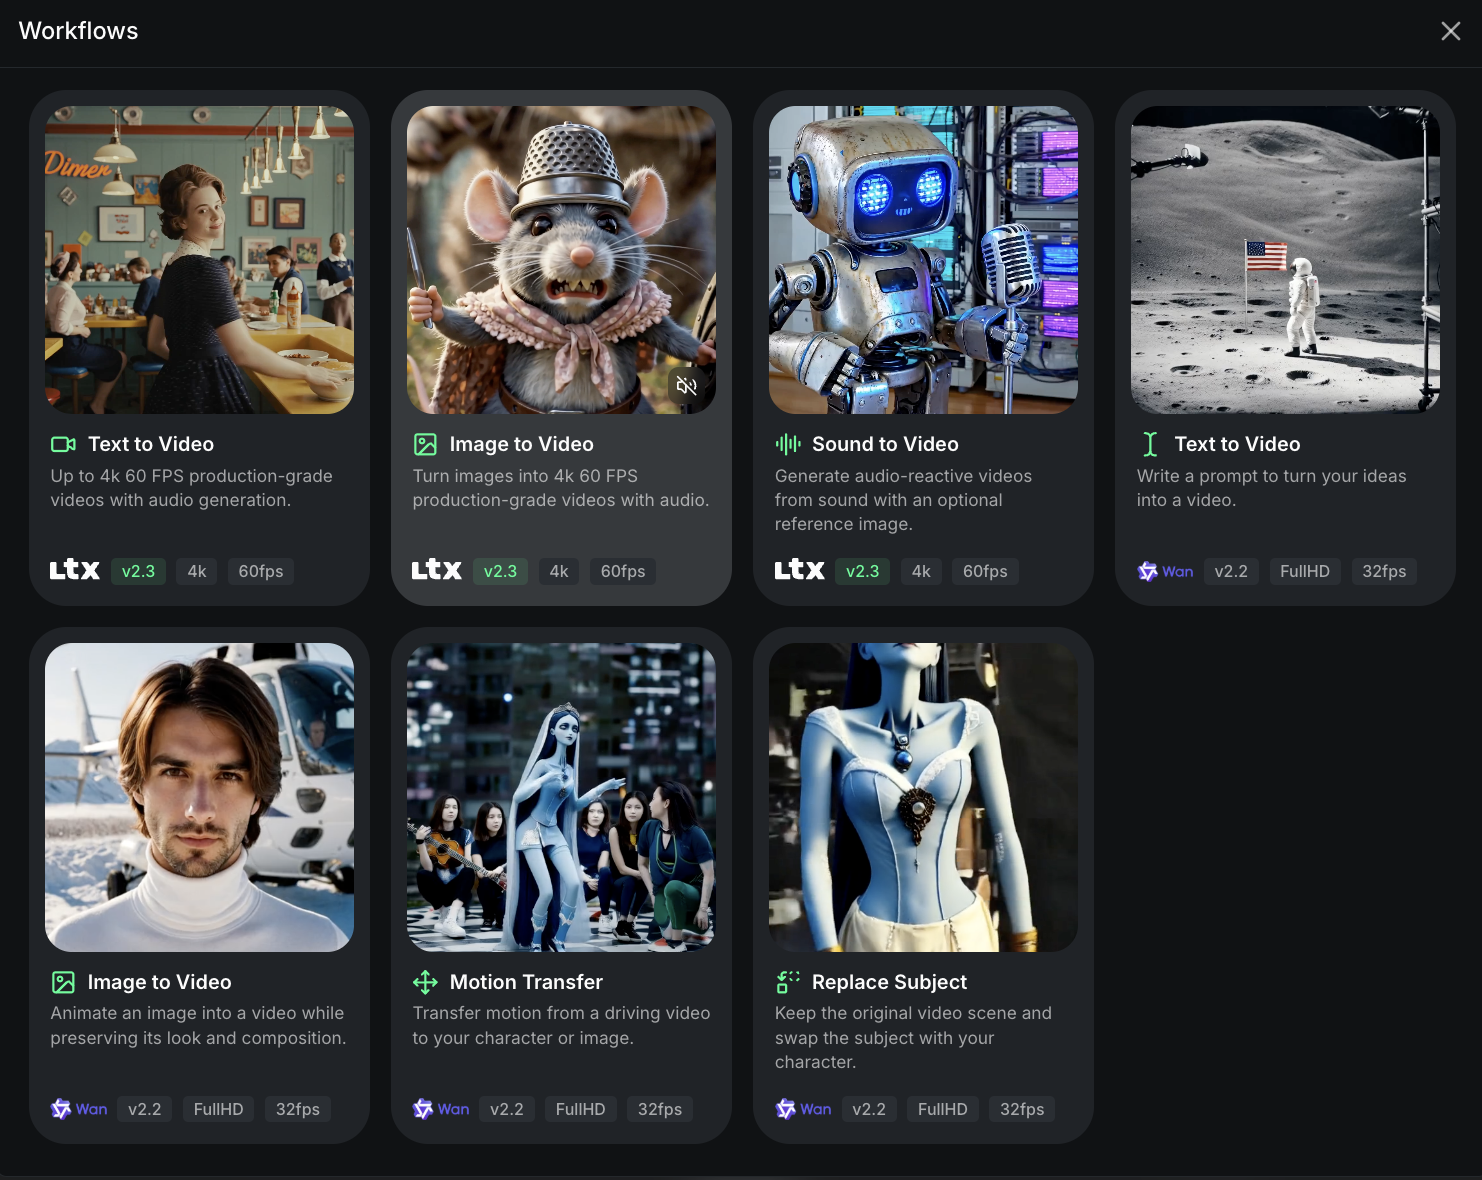
Start in Sogni Create, open the Workflows menu, and choose the LTX video model in Image to Video mode. This is the fastest place to begin when you already know the first and last frame you want.

It is beginner-friendly and intuitive, so you can get a strong first pass quickly before moving into a more advanced Studio workflow. You can also use the Wan Image to Video option, but generation usually takes longer there and it does not support audio-assisted output in the same way.

Sogni Create workflows menu showing the Image to Video option.
Choose Image to Video when you want one image to transform into another with controlled motion.
Step 2

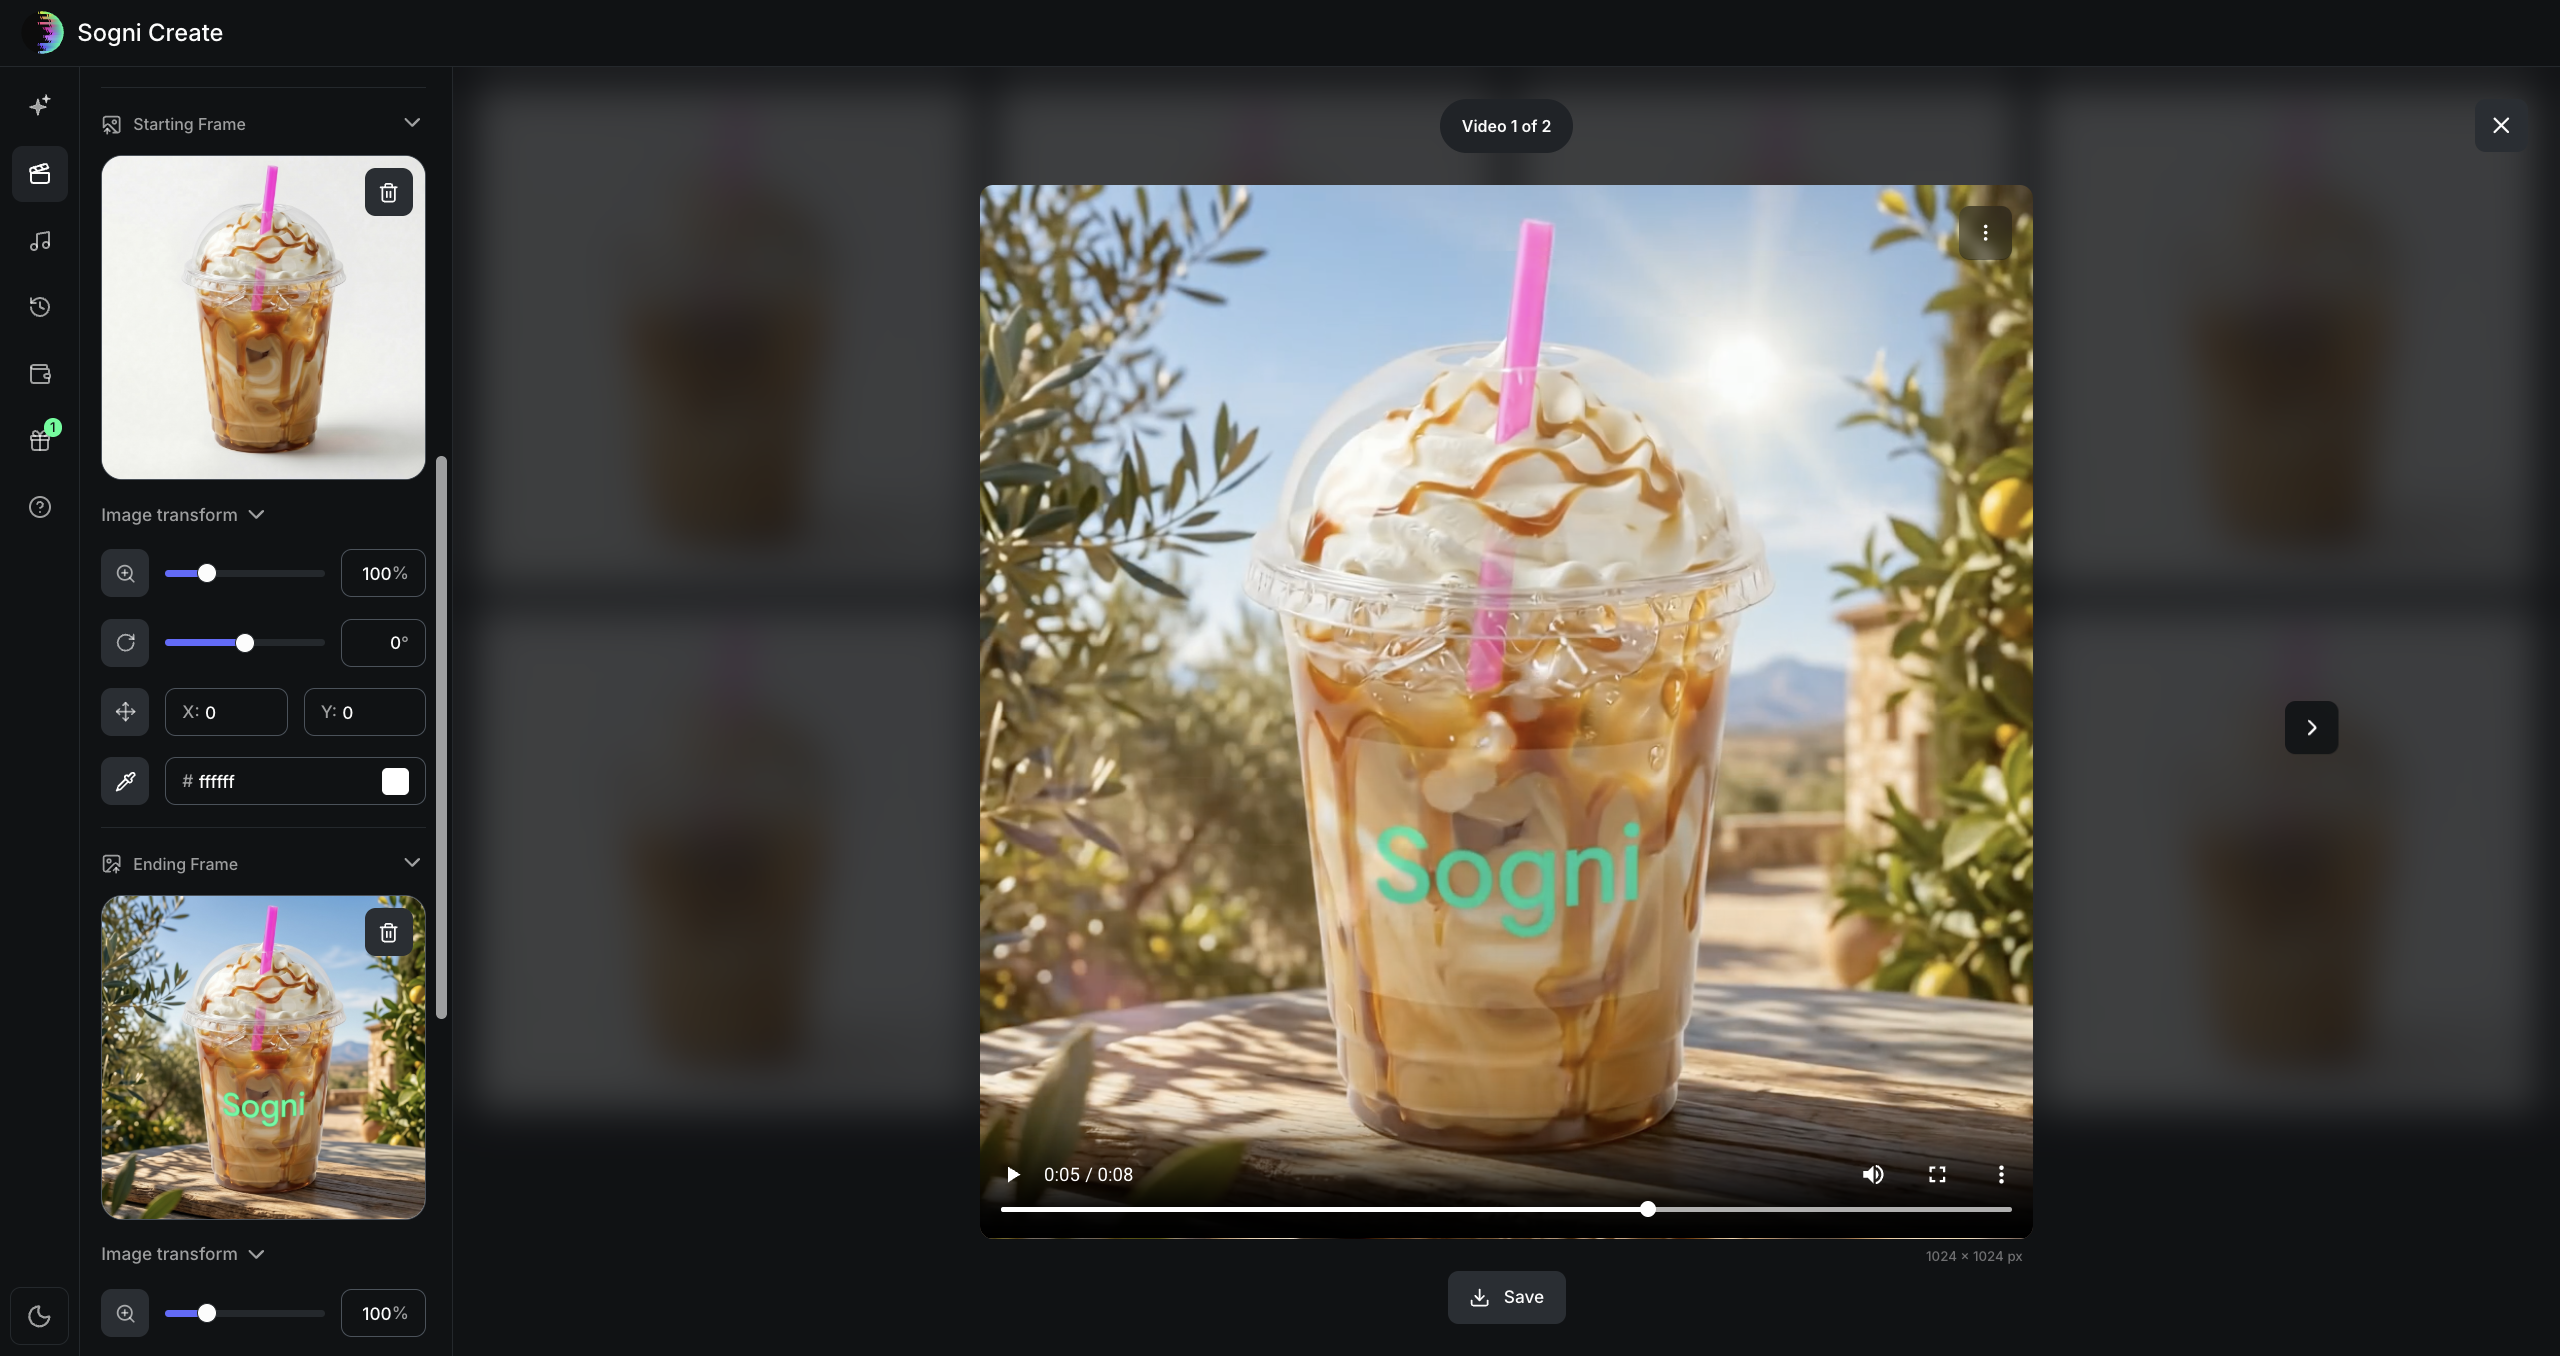
Set the first frame pair you want to turn into a clean transition.

The frames do more than bookend the clip. They define composition continuity, establish the direction of motion, and tell the model what must change by the time the shot ends.

For product work, think in short segments. One clip can move from beans to powder, another from powder to splash, another from splash to a clean drink shot, and another from a product shot to the final marketing frame.

Sogni Create interface showing a loaded starting frame and ending frame for a coffee product transition.
Load the beginning and ending frames, then judge whether the visual jump between them feels clean and intentional.
Step 3

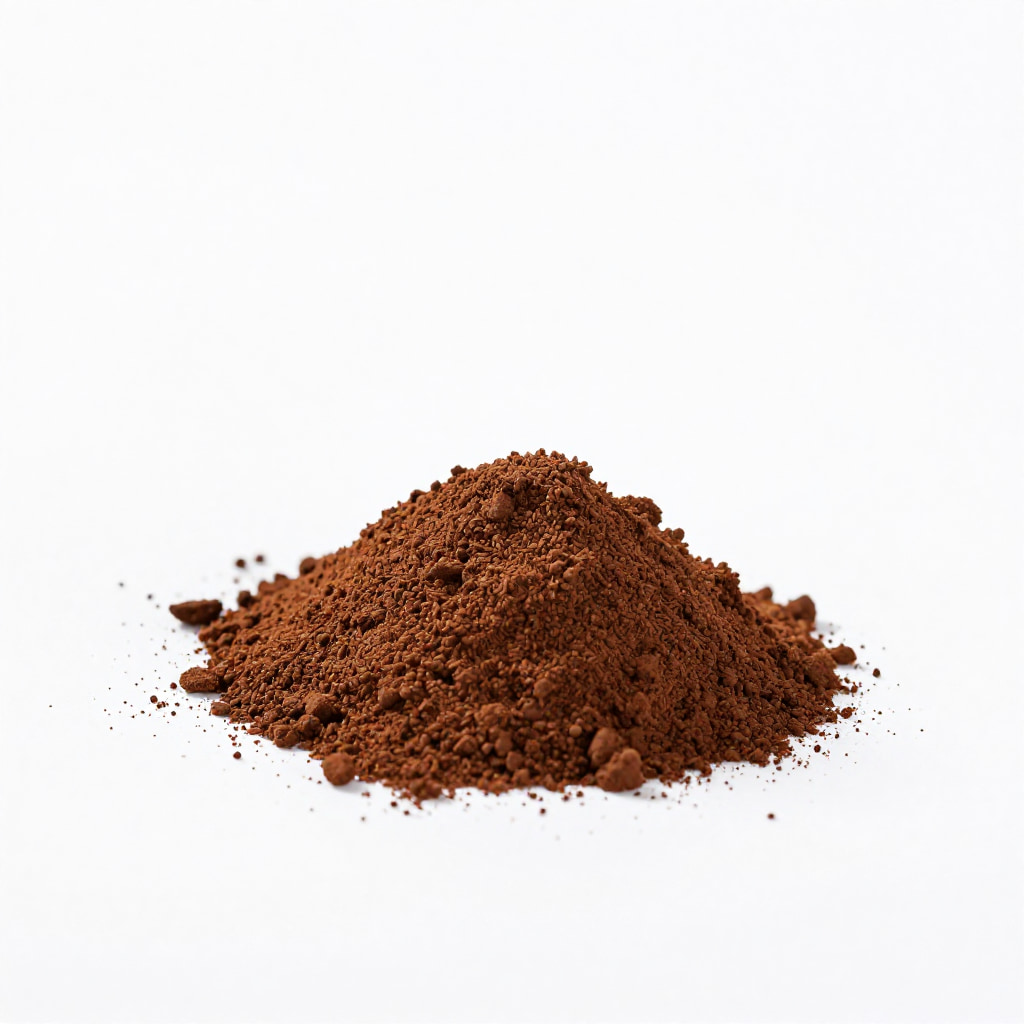
Write the first transition prompt between the beans and the ground coffee.

This is where you describe the change, pacing, and camera behavior. For the first clip, keep the composition stable and tell the model exactly how the beans should burst, break down, and settle into the powder pile.

Once this first prompt works, reuse the same logic for the later beats in the sequence.

Ultra-realistic product photography of roasted coffee beans rising in mid-air and bursting into ultra-fine ground coffee powder, with the powder exploding outward and cascading down into a small neat pile on the surface below, isolated on a pure white background, soft subtle shadows, premium studio lighting, sharp focus, high detail, dynamic composition.
What you should have now: One clear frame pair and one transition prompt ready to render.
Roasted coffee beans floating on a clean white background.
Start Frame: roasted beans.
Ground coffee powder on a clean white background.
End Frame: fine coffee powder.
Step 4

Build the full sequence one clip at a time.

The strongest results come from chaining several simple transformations instead of asking one prompt to do everything at once.

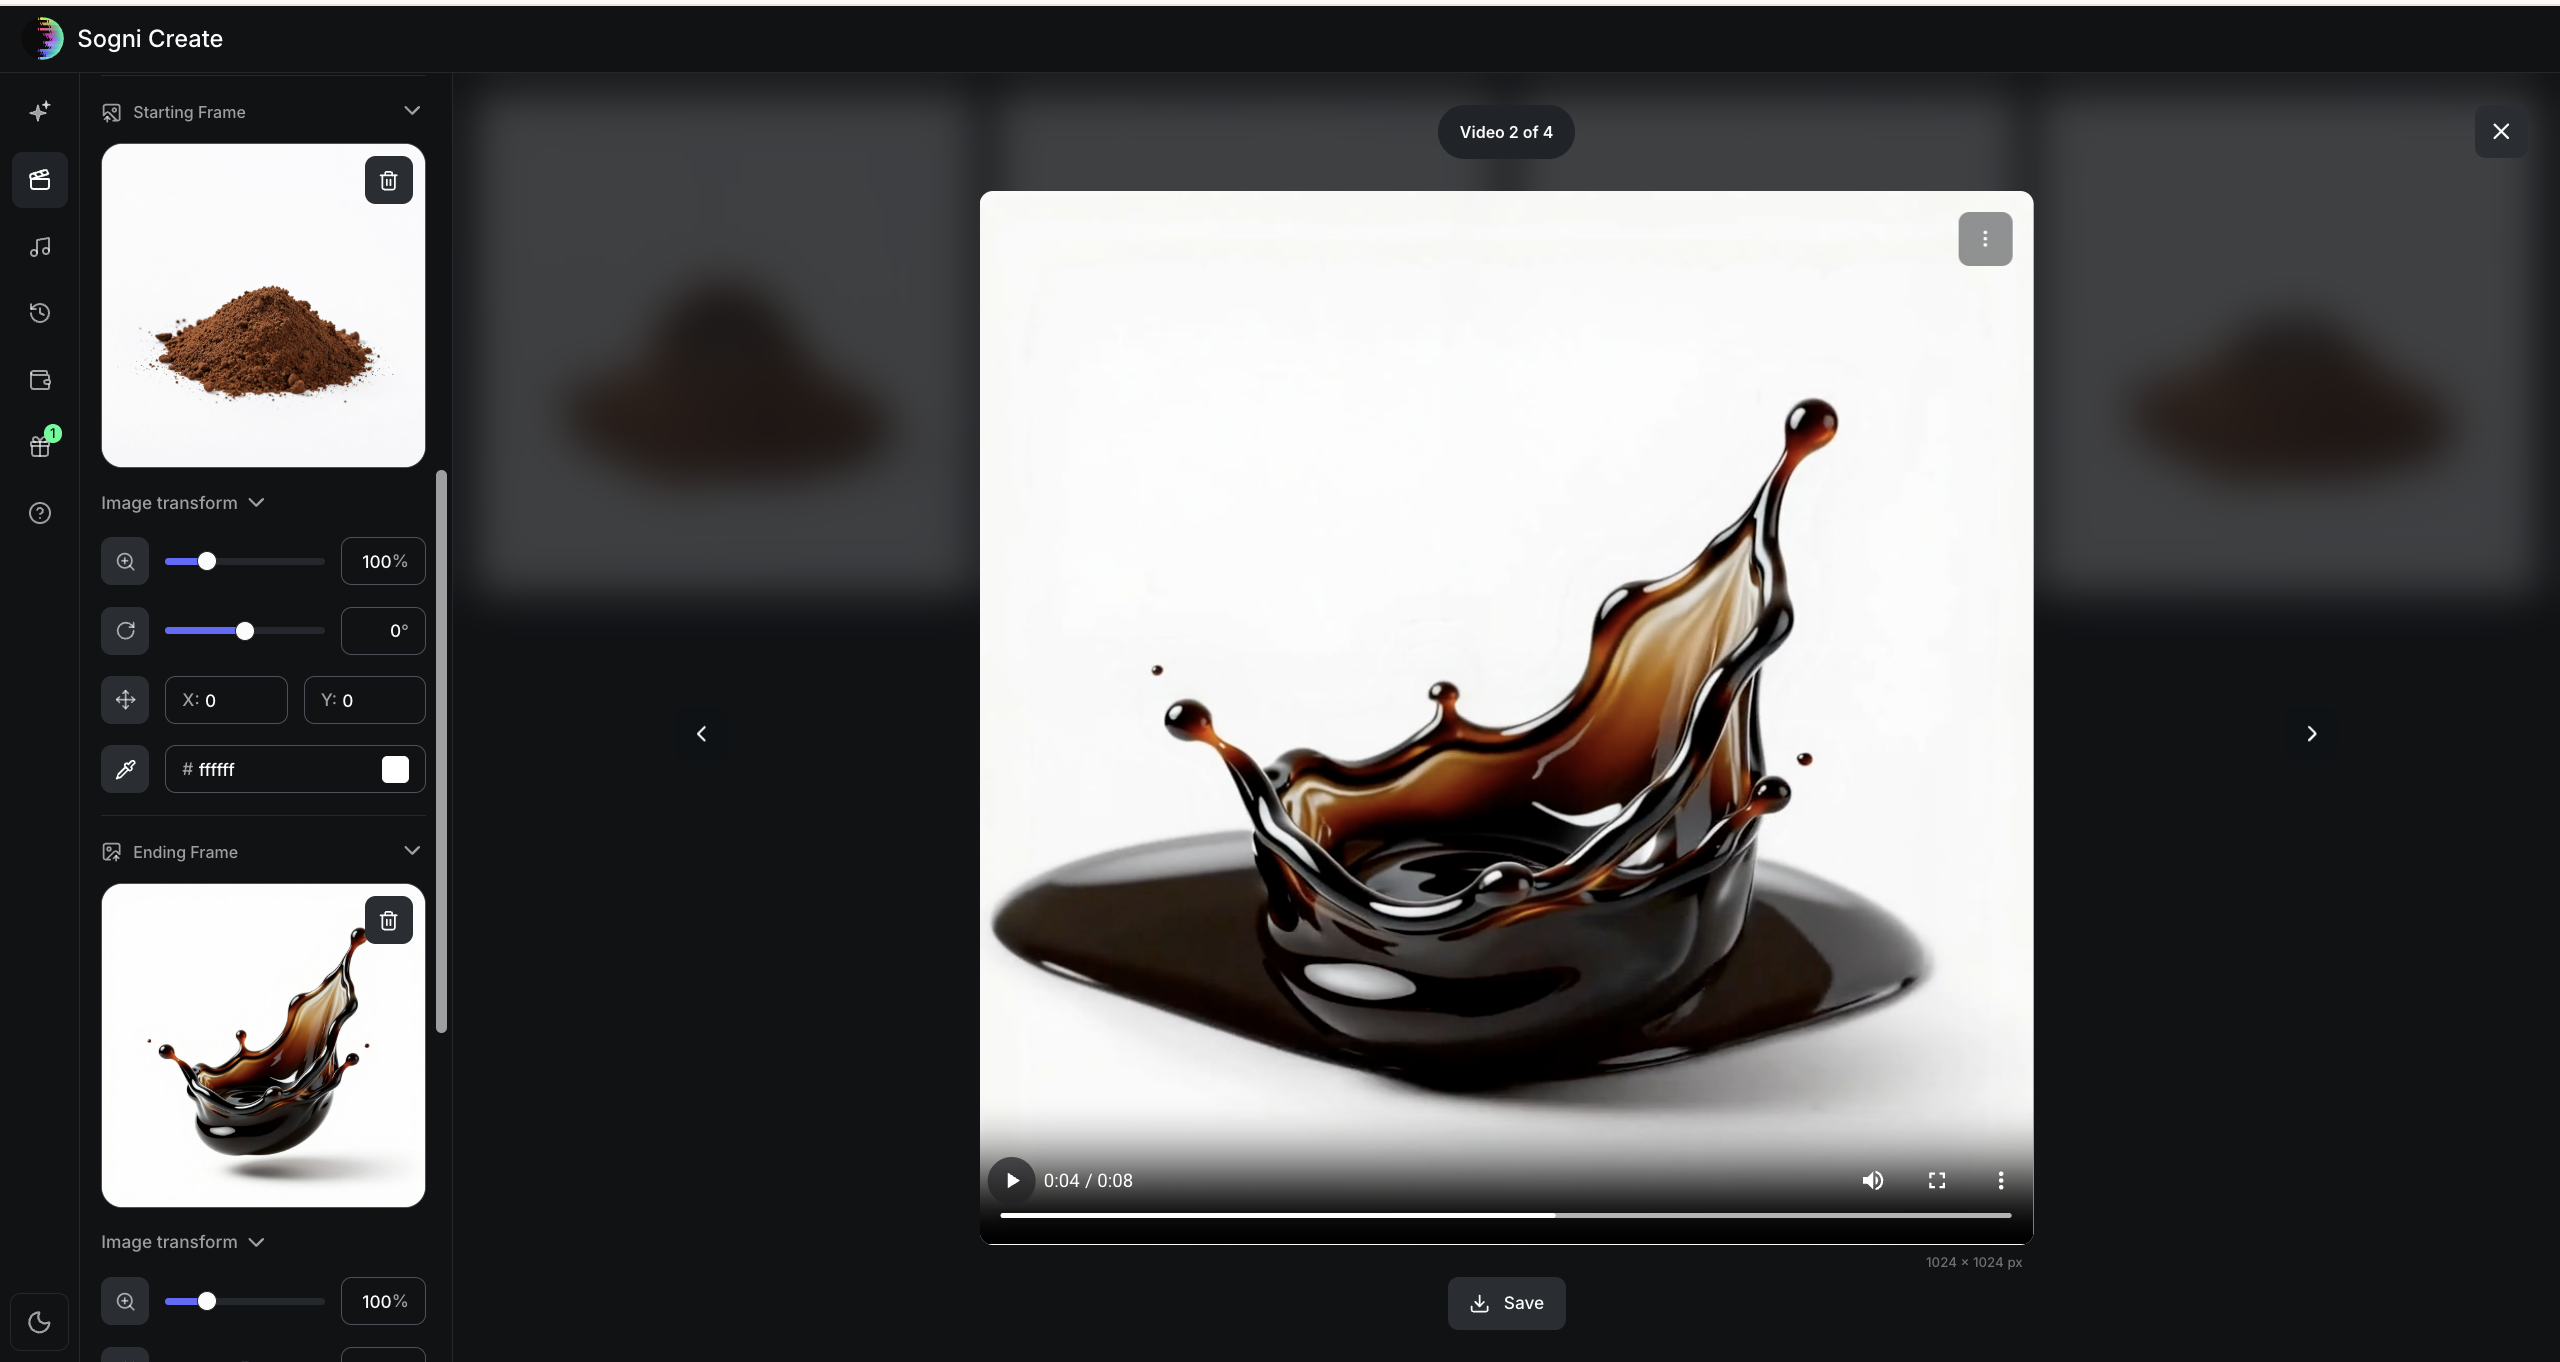
A good example is the second transition: use the ground coffee as the Start Frame, set the splash as the End Frame, and let that pair define how the motion resolves.

Add refinement beats

If you want to make the sequence richer, add smaller refinement clips between the big beats.

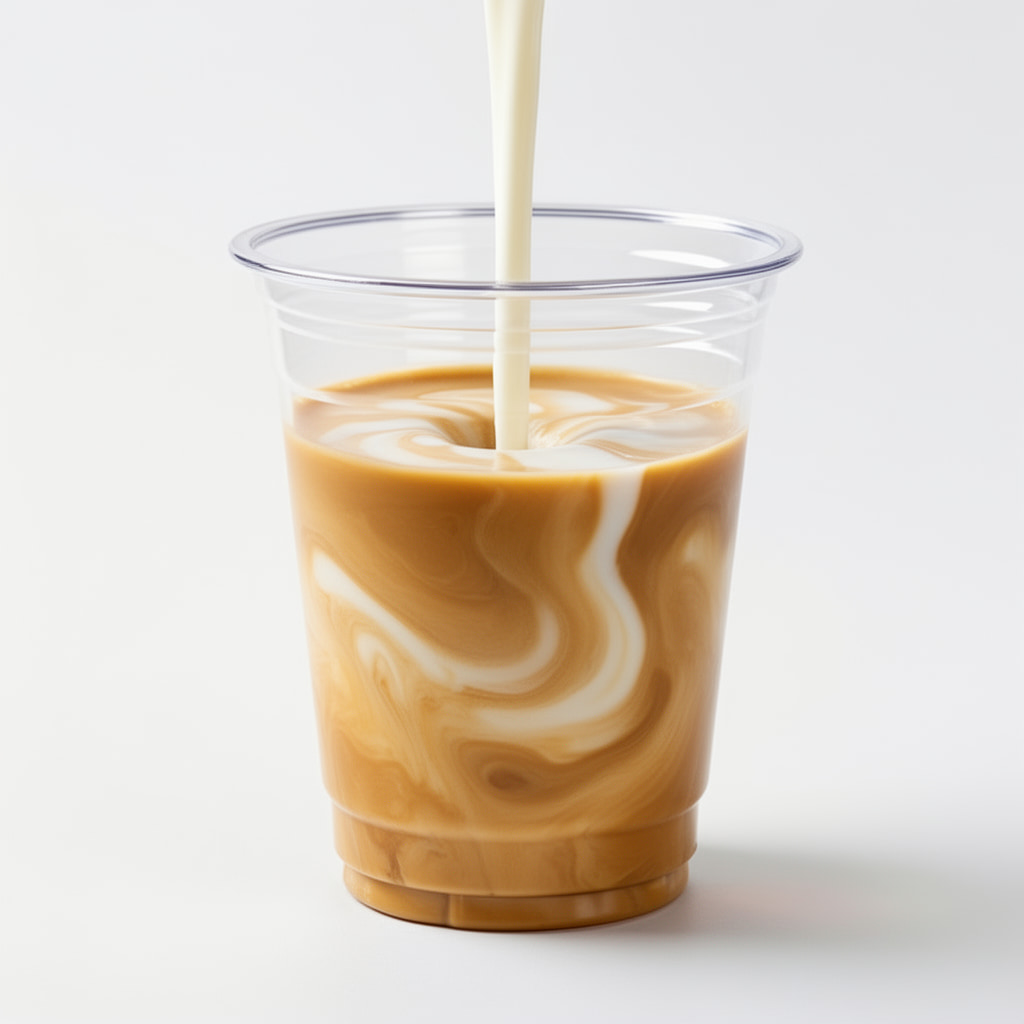
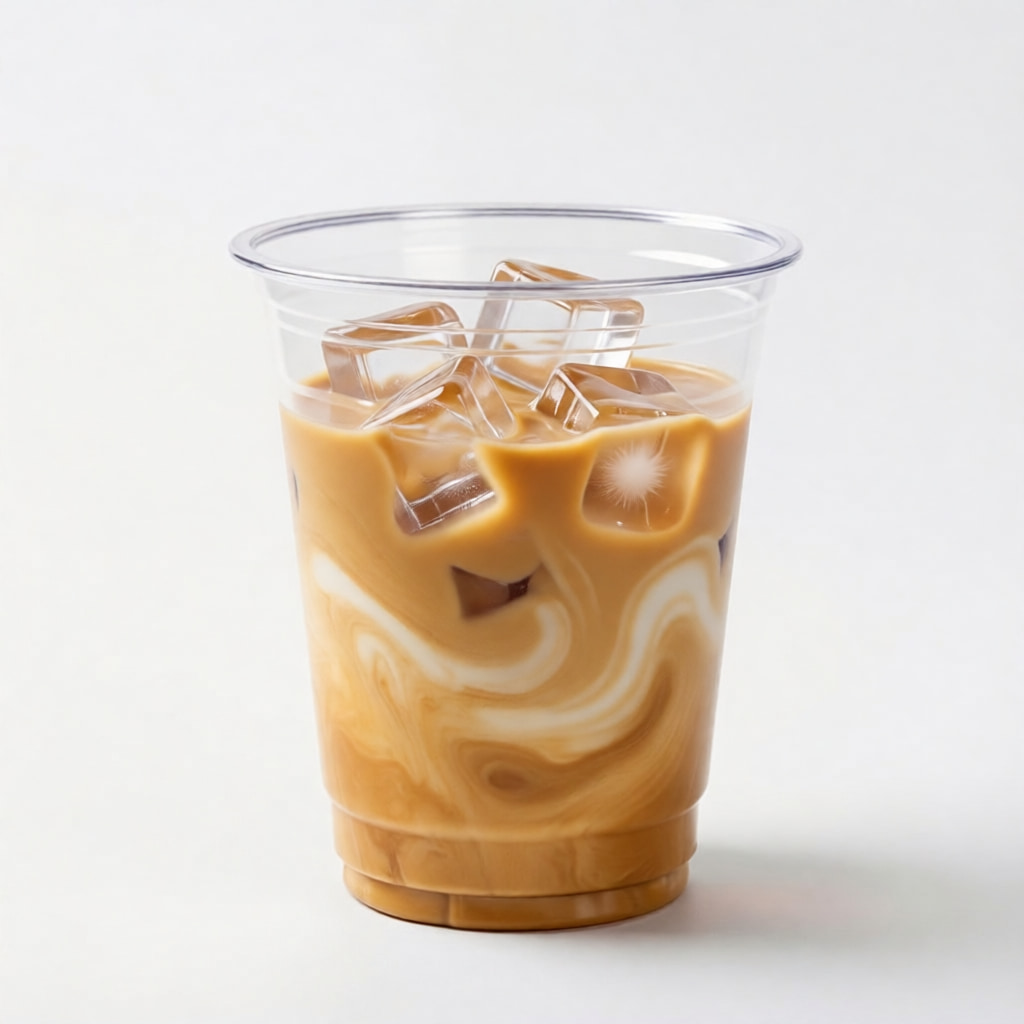
In this coffee workflow, those extra passes include milk, ice, caramel drizzle, whipped cream, and the move into the outdoor lifestyle frame.

Clip plan

Clip 1: beans into ground coffee.

Clip 2: ground coffee into a liquid splash.

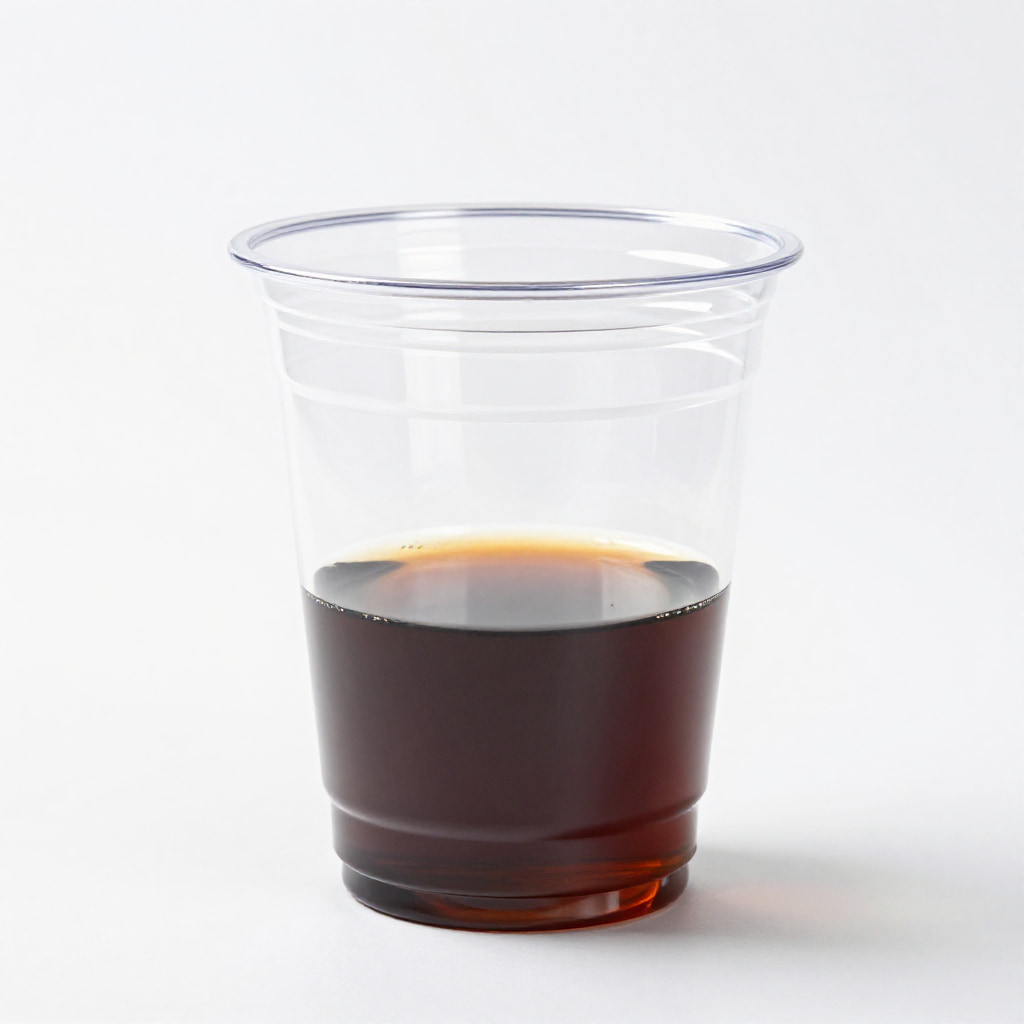
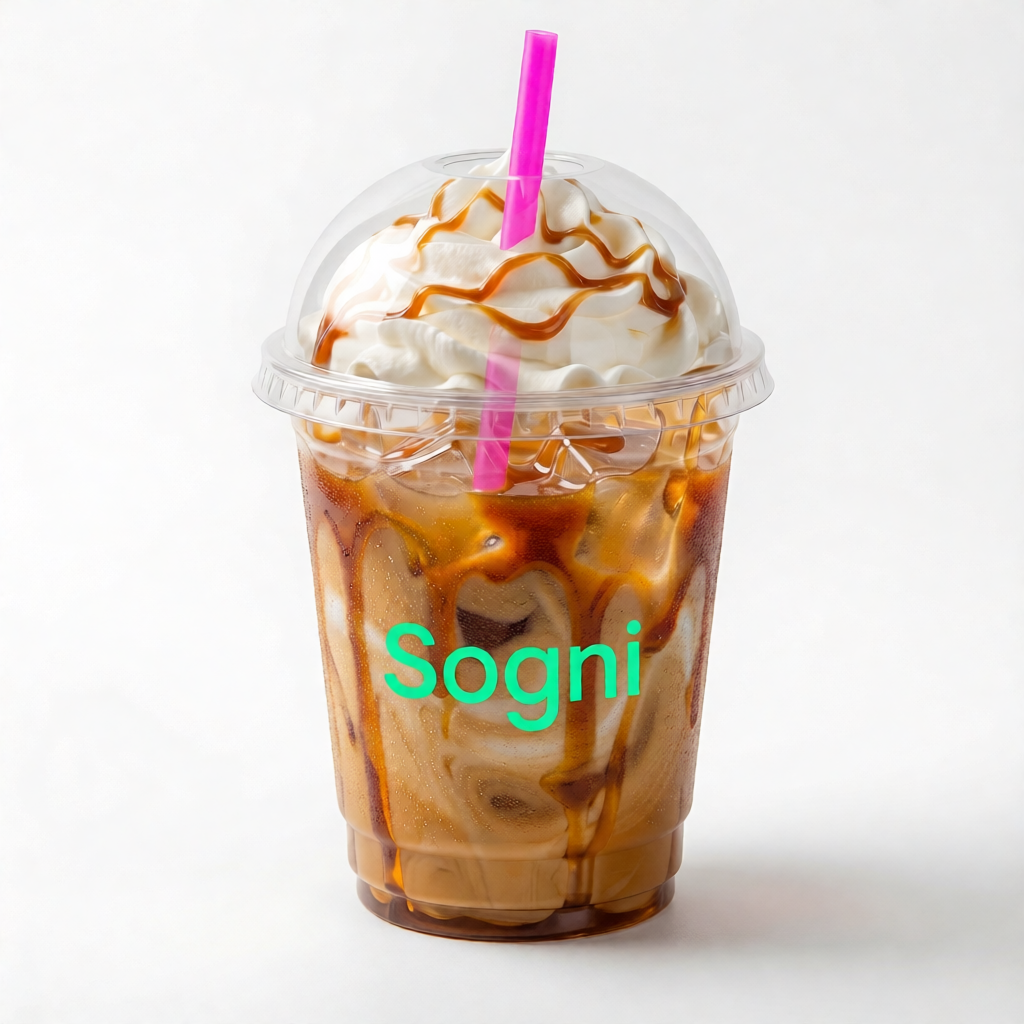
Clip 3: liquid coffee into a clean drink shot.

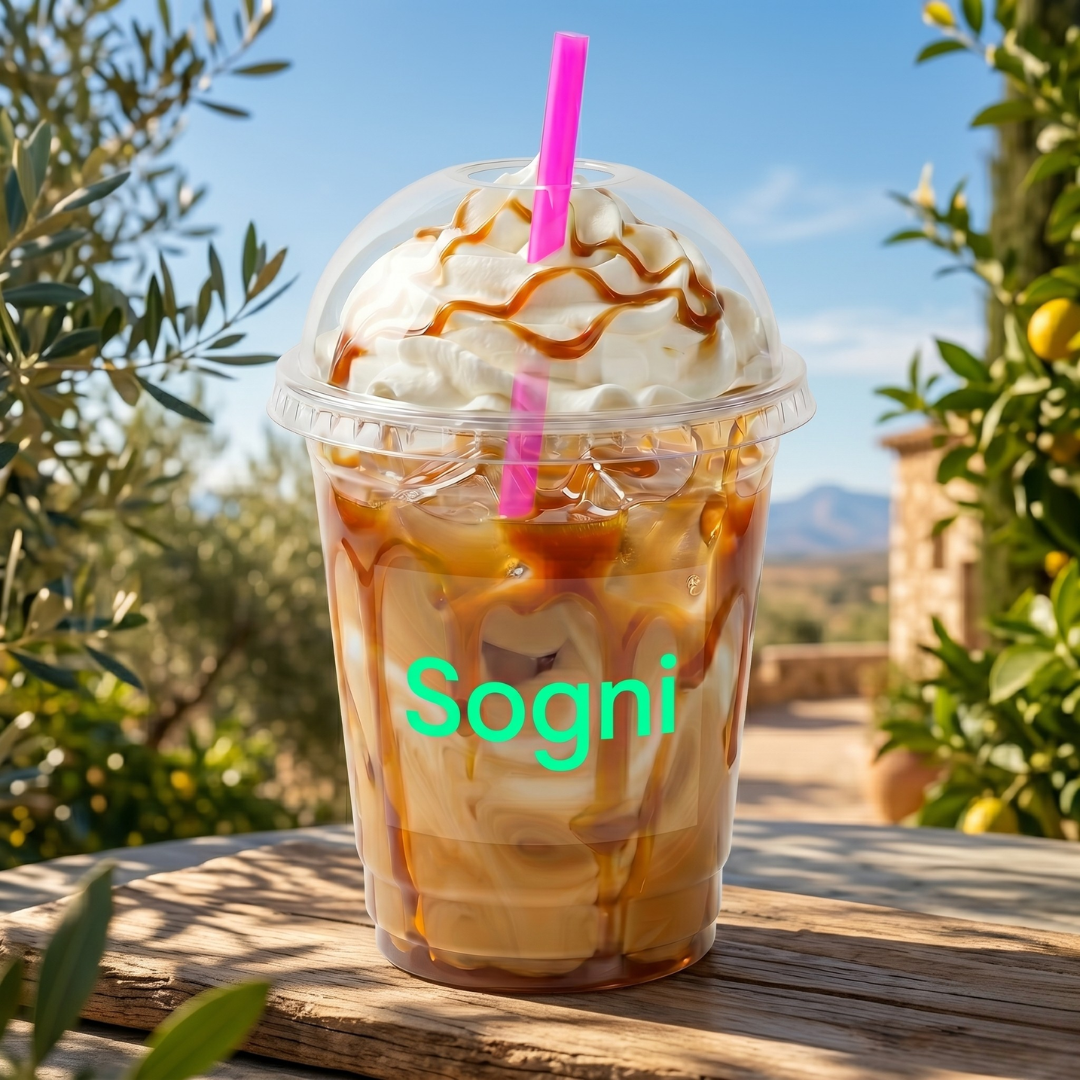
Clip 4: the product shot into the final marketing frame.

Sogni Create interface showing ground coffee as the Start Frame and a liquid coffee splash as the End Frame for the next transition.
Here the powder becomes the Start Frame and the splash becomes the End Frame for the next clip in the sequence.
Floating coffee beans on a white background.
Clip start: beans.
Ground coffee powder on a white studio background.
Clip end: ground coffee.
Glossy coffee splash on a white studio background.
Next pair: glossy splash.
Cup of black coffee on a white studio background.
Then move into a drink shot.

Because each clip has its own frame pair, you can keep the camera angle, composition, and product geometry consistent while still evolving the scene. That gives you a cleaner foundation before you move into finishing passes.

The middle refinements are what turn a simple drink shot into a full product build.

What you should have now: A set of short transition clips and refinement beats that cover the whole product story.
Milk being poured into coffee in a clear cup.
Milk enters the frame.
Iced coffee in a clear cup on a white background.
The drink fills out.
Branded Sogni iced coffee in a studio setting.
The packshot becomes brand-ready.
Finished outdoor Sogni iced coffee marketing shot.
Finish on the marketing frame you want to publish.

A practical way to build this workflow is to generate still images for every stage first. If you want stronger repeatability and tighter detail continuity, use an editing model such as Qwen Image Edit or Flux2 and guide the model step by step so even the small product details stay stable from one image to the next.

Once you have the full set of images, decide which shots work best together as frame pairs. That makes it much easier to build each transition intentionally instead of guessing the sequence while you render.

What you should have now: A clear multi-clip plan plus a few strong transition examples you can render, compare, and stitch together.
Example clip: beans into powder.
Example clip: powder into splash.
Example clip: build the clean drink shot.
Example clip: product shot into the final marketing frame.
Step 5

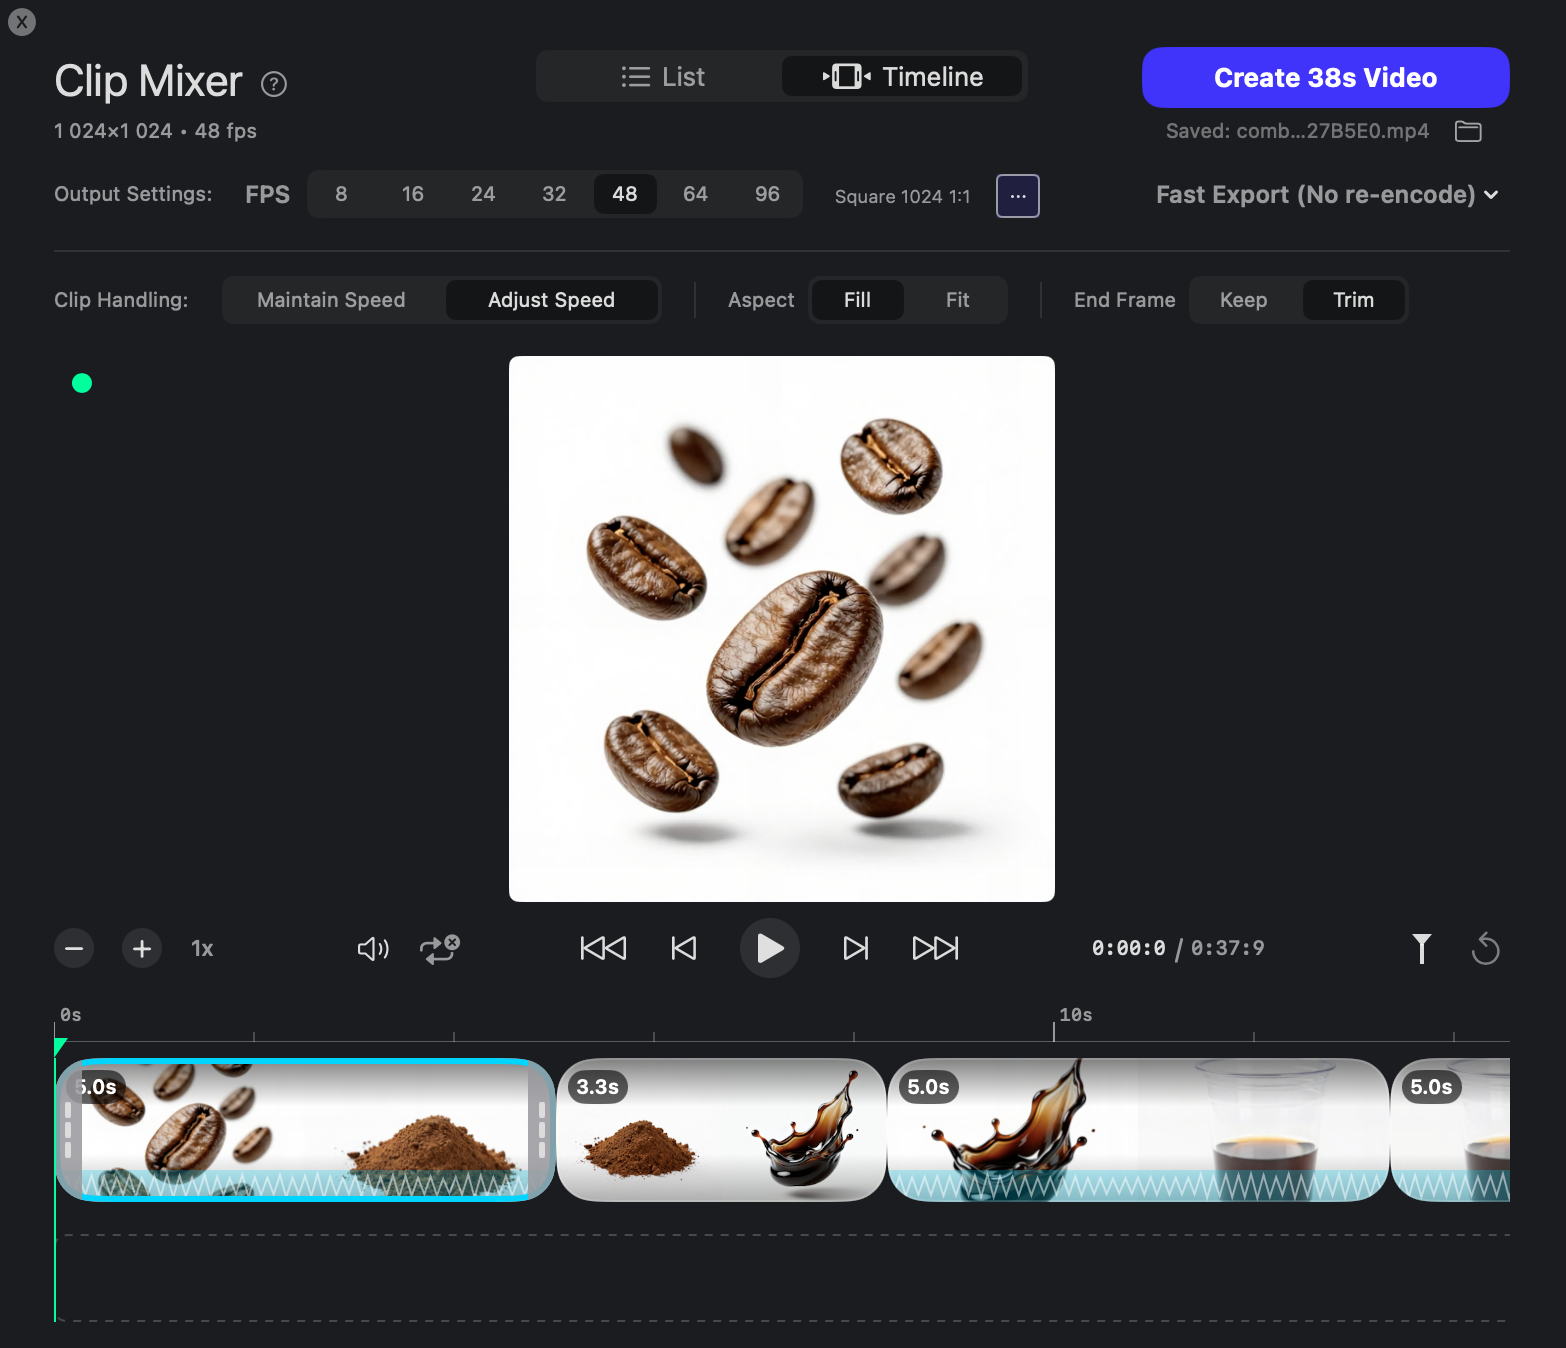
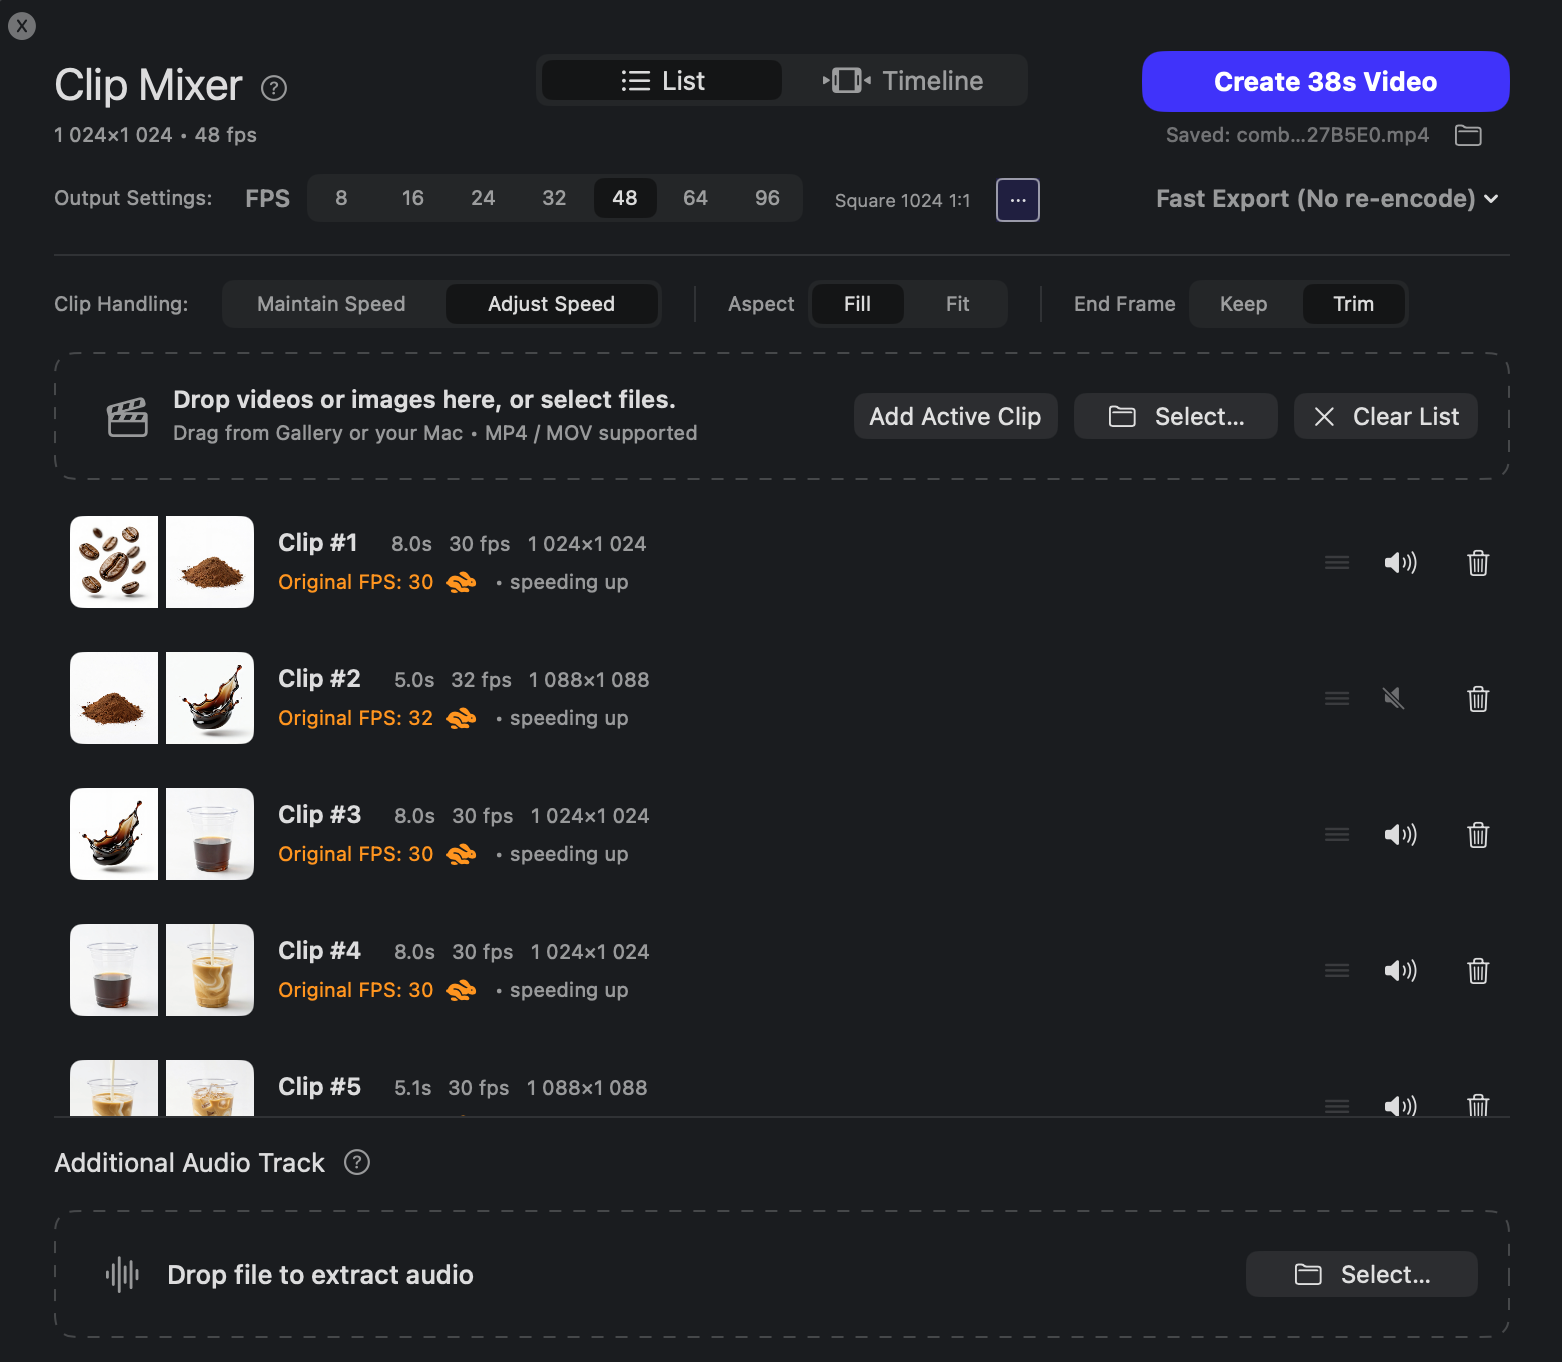
Use Sogni Mixer in Sogni Studio so the clips stitch automatically.

If you generate your own transition clips, you do not need to stitch them manually. Drop them into Sogni Mixer in Sogni Studio and the sequence can be assembled automatically.

  • Adjust the FPS.
  • Tweak clip speed.
  • Choose Fill or Fit.
  • Trim the End Frame for smoother transitions.
  • Drag and drop clips, reorder them, and export quickly without re-encoding.
What you should have now: One stitched draft with the overall order and pacing already working.
Sogni Clip Mixer list view showing multiple coffee clips ready to be stitched together.
Clip Mixer assembles multiple transition clips into one clean sequence without rebuilding everything by hand.
Step 6

Switch to Timeline view when you want full manual control.

Automatic stitching is useful, but you can still fine-tune everything manually when needed. In Timeline view, adjust clip length, reorder shots, and control the exact timing of each transition.

You can tweak playback speed, preview changes in real time, navigate frame by frame, manage audio, loop clips, and refine the sequence visually until the motion feels deliberate.

What you should have now: This gives you both automatic stitching and full manual control when you need it.
Sogni Clip Mixer timeline view showing exact clip order and pacing controls.
Timeline view gives you precise control over clip length, order, timing, and playback feel.

Start simple in Sogni Create, then move into Studio when you want deeper control.

Start your journey with Sogni Create. It is beginner-friendly, intuitive, and designed to help you get started quickly.

When you are ready for more advanced workflows, explore Sogni Studio / Pro for deeper control, custom pacing, timeline edits, and more deliberate finishing.

Keep the workflow moving with: