Creative Assistant
Chat-first creation, guided controls, or full manual mode

Tell it what you want. Or guide it. Or take the wheel yourself.

The new Creative Assistant is now available in Sogni. It introduces three ways to create: Agent mode for chat-first creation, Guided mode for chat with controls, and Manual mode for the classic workflow.

You bring the imagination. The Assistant helps with image generation, editing, video and music creation, prompt writing, model selection, settings, media analysis, and multi-step workflows. It also understands the Sogni UI, Supernet, assets, and system logic while respecting your safety filter settings.

Modes

Agent for chat-first creation, Guided for assisted controls, Manual for the classic workflow.

Assistant Handles

Model picking, prompt writing, settings, media analysis, and multi-step creative flows.

You Handle

The idea, the direction, and the decision of when to chat, when to guide, and when to go fully manual.

The new assistant gives you three ways to create without locking you into one workflow.

  • Agent mode Chat-first creation when you want to describe the idea and let the assistant shape the setup for you.
  • Guided mode Keeps the conversation visible while still giving you direct controls, so chat and settings stay in the same flow.
  • Manual mode Leaves the assistant behind and returns you to the classic hands-on workflow whenever you want more precision.

That means you can start with a conversation, let the assistant help shape the setup, and then move into direct controls whenever you want more precision. It is flexible on purpose.

Guided mode makes the value obvious right away: the assistant can suggest tasks like analyzing an image, enhancing a prompt, creating an article cover, transferring motion to a character, or answering product questions before you even type.
Guided mode in Sogni Studio showing suggested actions and the chat panel beside the creation controls.
Guided mode keeps the assistant conversation visible next to the generation controls, so you can chat and steer the workflow at the same time.
Step 1

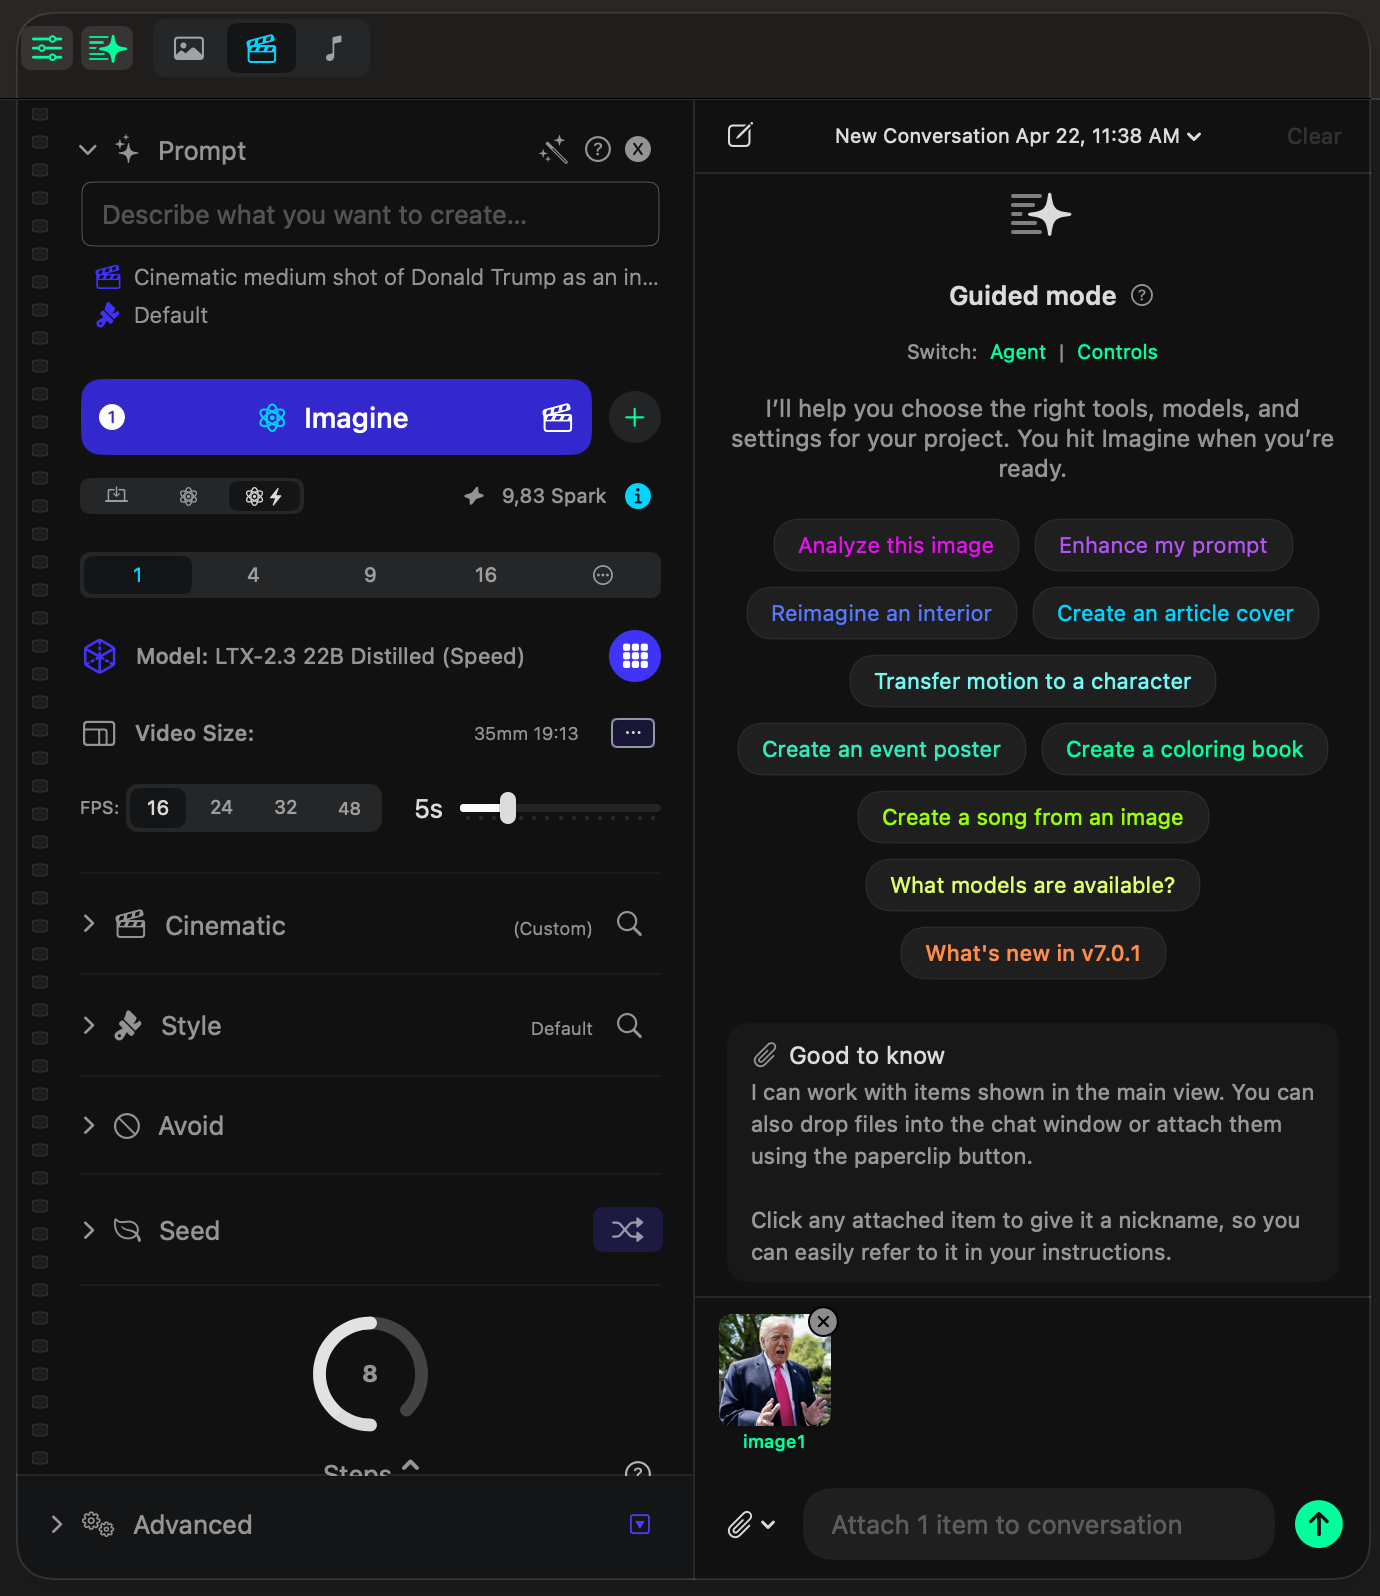
Attach an image and the assistant immediately starts making sense of it.

In this example, one image is attached to the conversation and the assistant reads the scene back in plain language. It identifies the subject, the setting, the expression, and the overall context without needing a separate prompt.

Then it gives you ready-made next moves like Animate, Create Video, or Change Angle. You do not have to guess what the product can do next, because it already turns the image into actionable options.

Creative Assistant analyzing an attached image and offering follow-up actions like Animate, Create Video, and Change Angle.
The assistant reads the attached media, summarizes what it sees, and immediately offers useful next actions.
Step 2

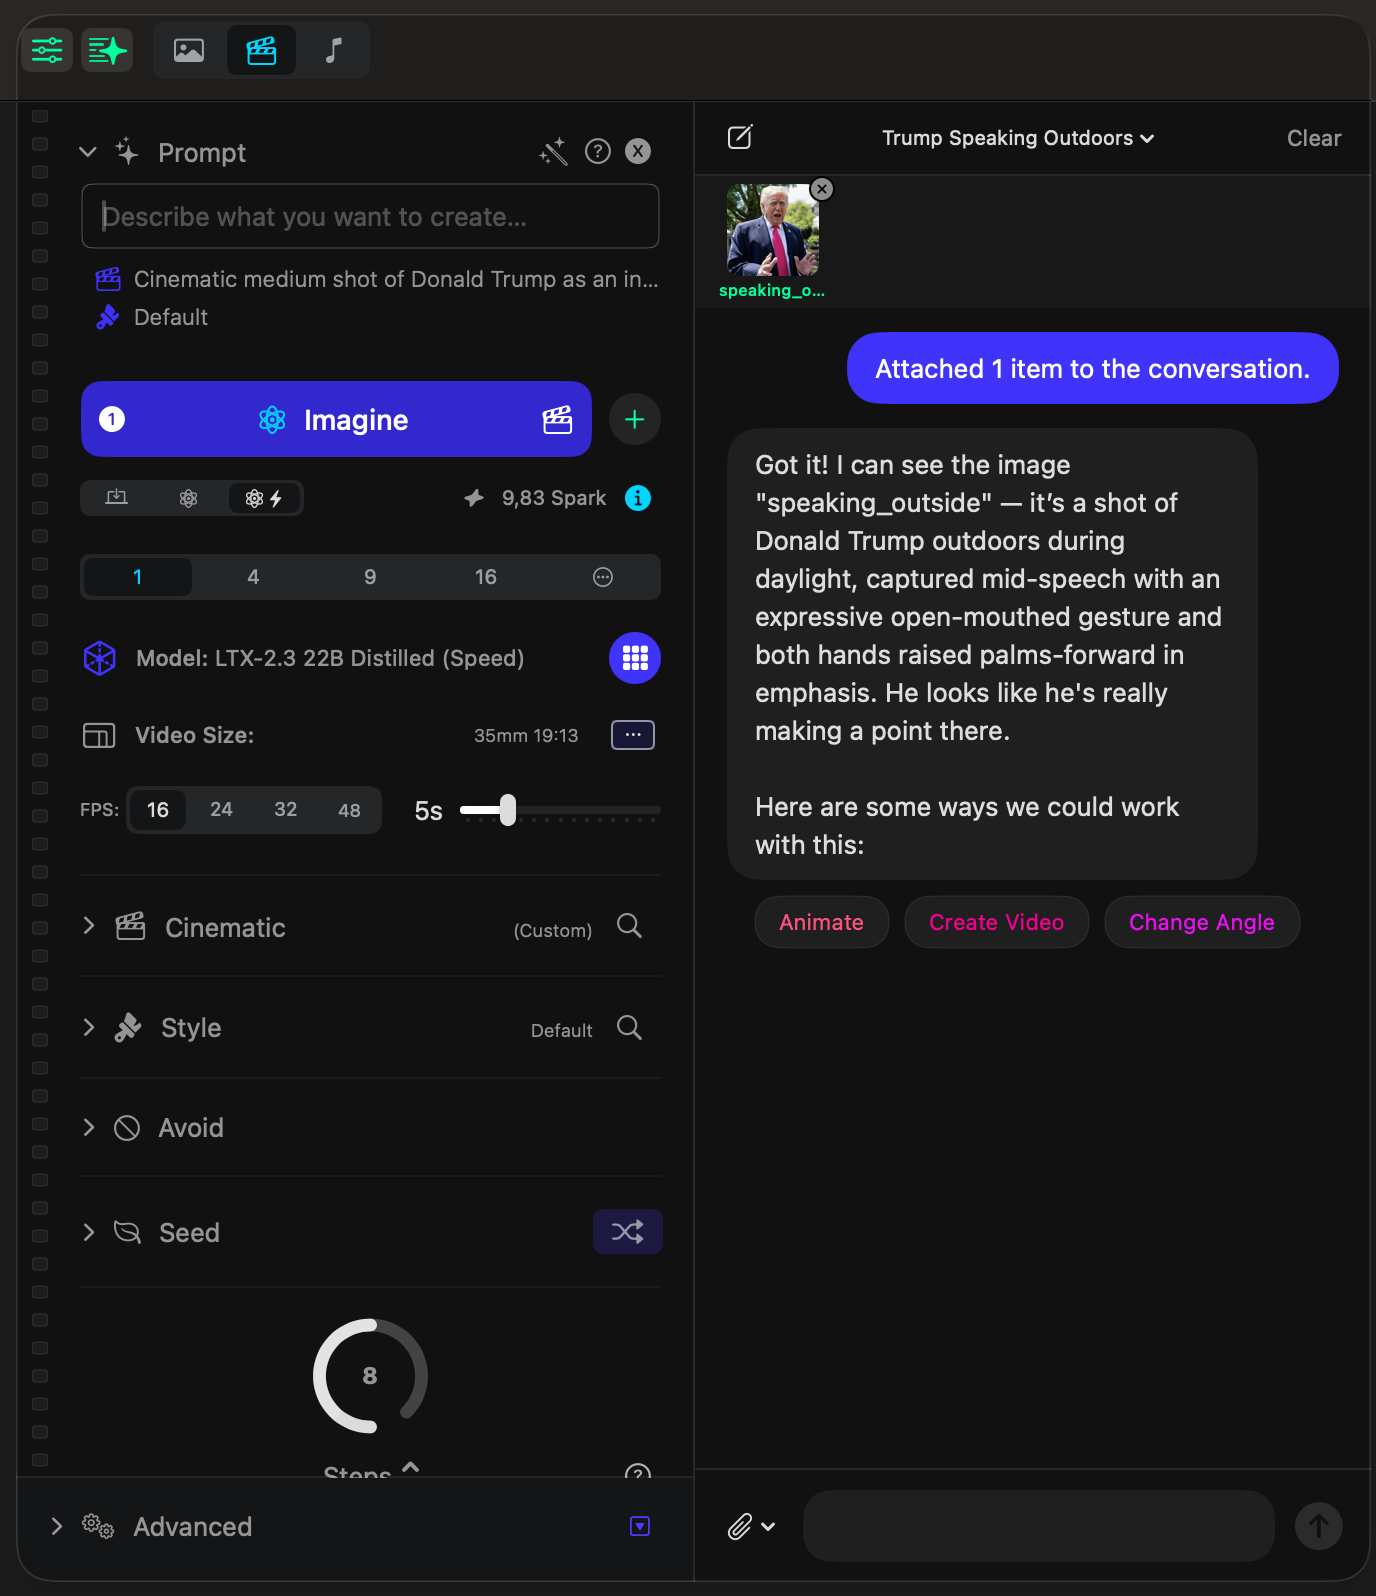
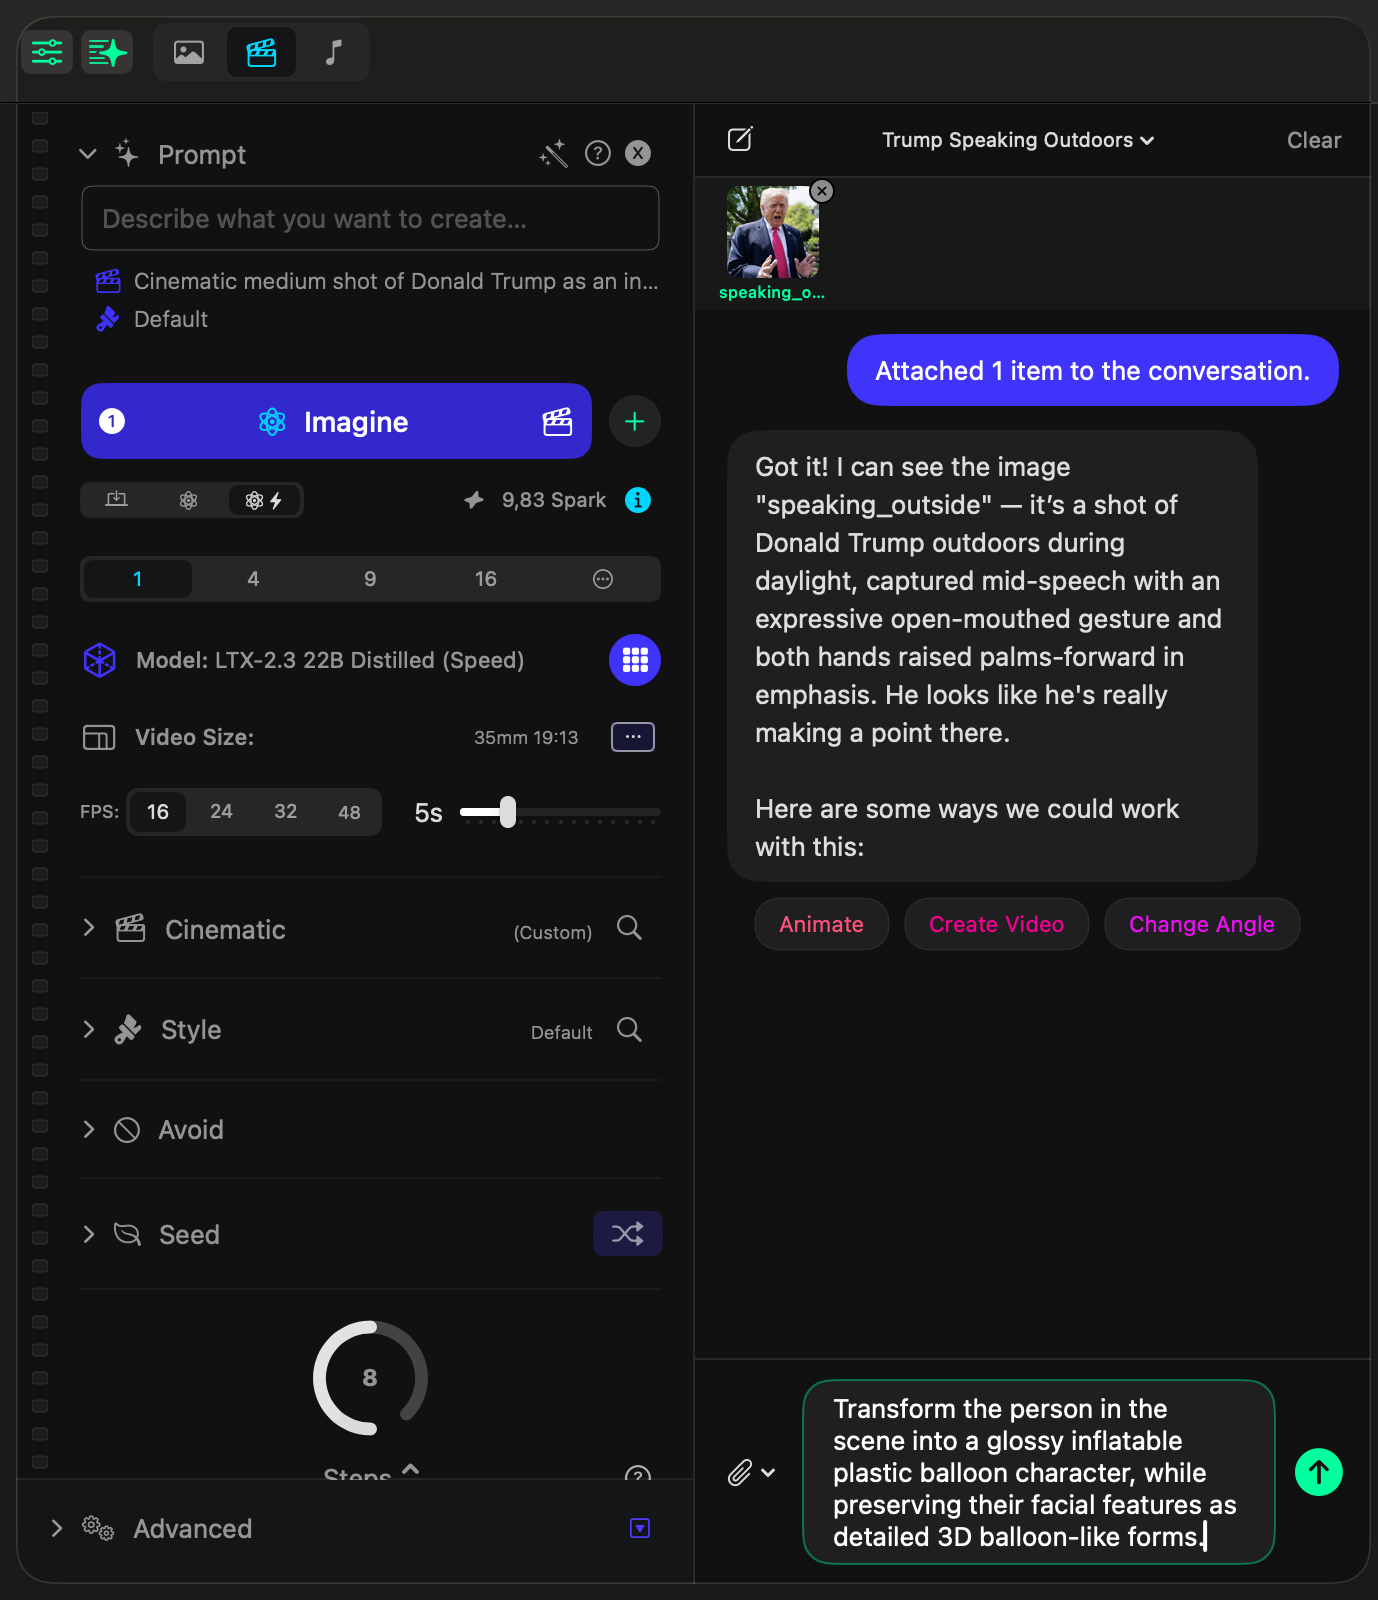
Ask for the transformation in plain language and let the assistant turn it into an editing workflow.

The request here is completely conversational. It does not mention models, advanced parameters, or internal tool choices. It simply describes the desired result.

That is the point of the Creative Assistant. You say what should happen, and it starts setting up the right path for image editing on its own.

Be sure to test the viral balloon prompt for yourself.
Transform the person in the scene into a glossy inflatable plastic balloon character, while preserving their facial features as detailed 3D balloon-like forms.
Conversation in Sogni Studio showing a natural-language request to transform the subject into a glossy balloon-like character.
A normal sentence is enough. The assistant treats it as a creative instruction, not as a technical setup problem.
Step 3

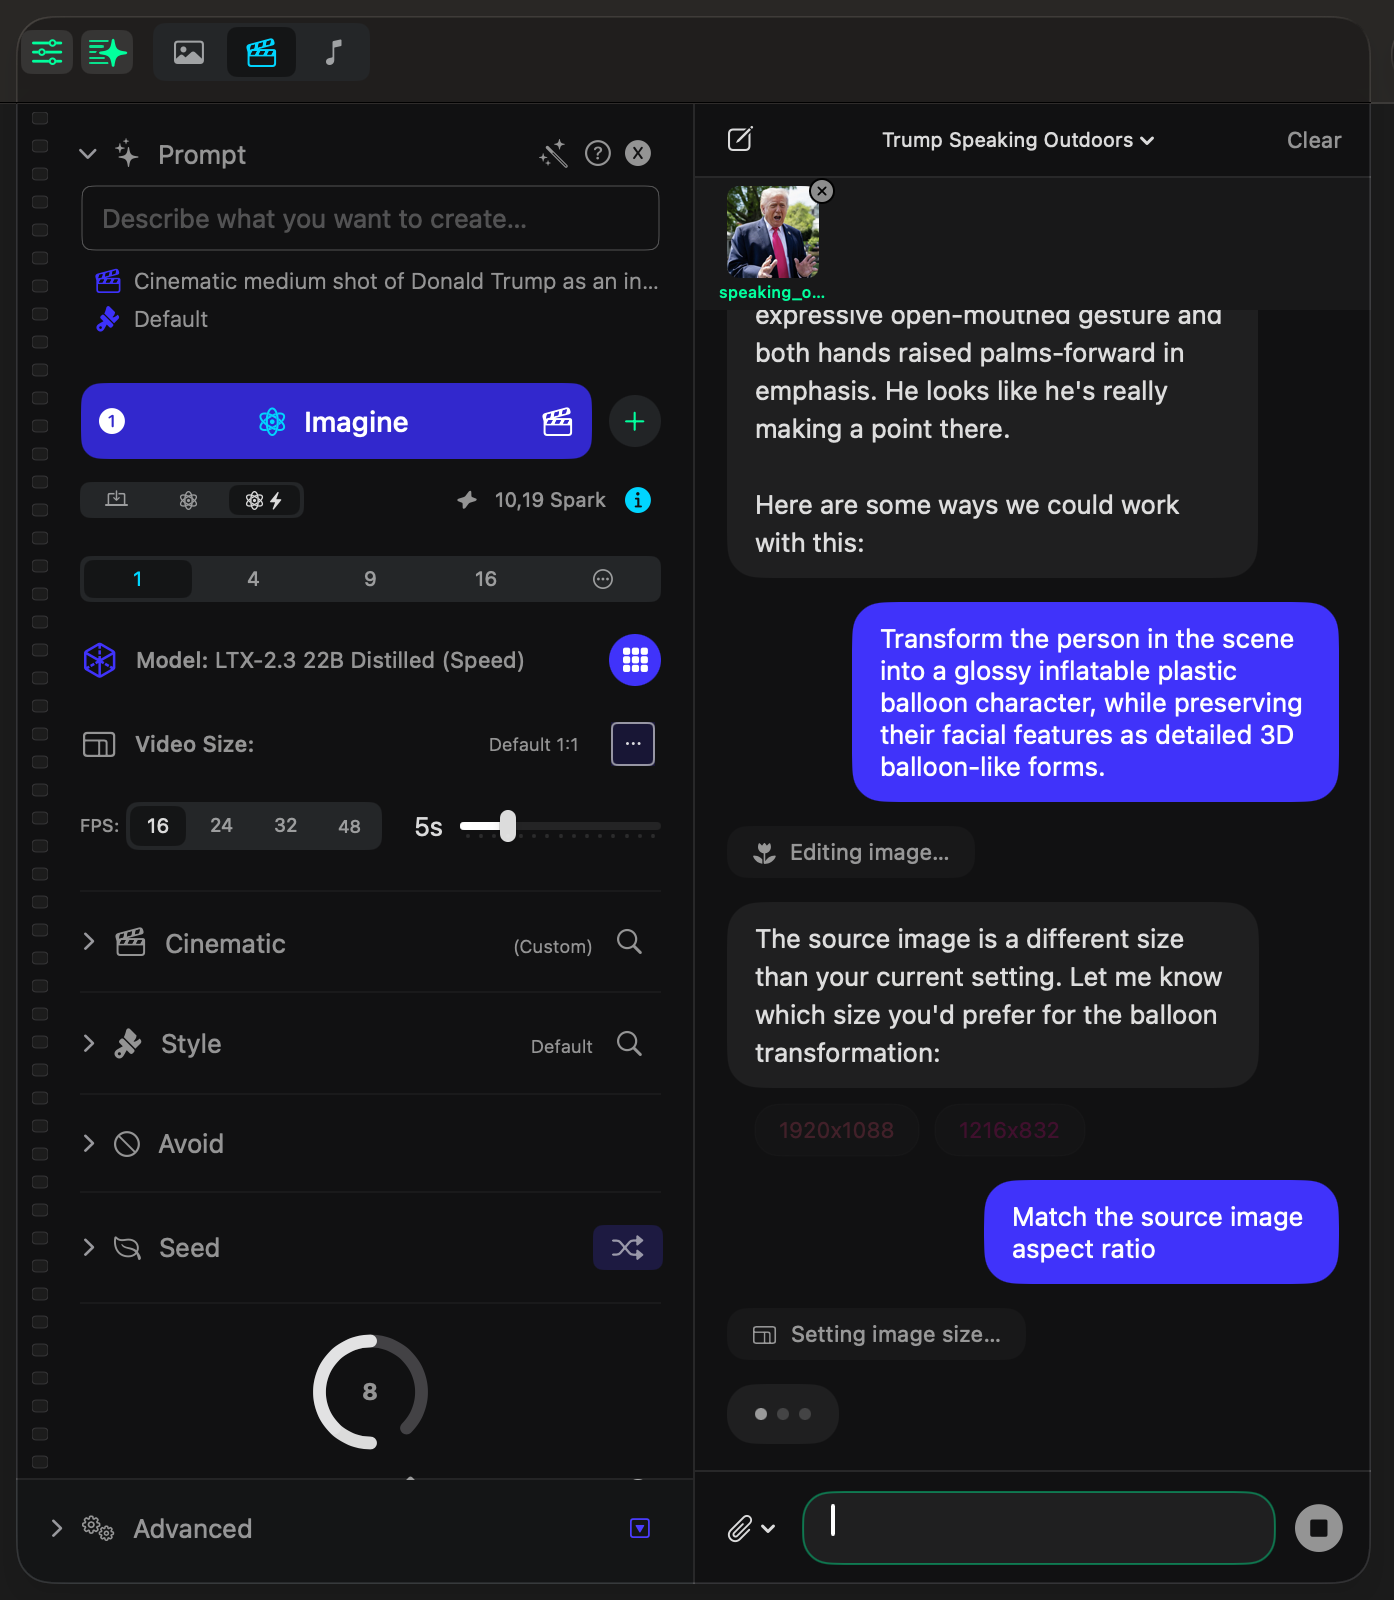
When a technical choice matters, the assistant pauses and asks the smallest useful question.

Here the source image does not match the current aspect ratio, so the assistant stops the flow briefly and asks how the size should be handled. It offers concrete options instead of dropping you into a wall of settings.

The answer can be just as simple: Match the source image aspect ratio. The assistant then applies the setting and continues the edit.

What you should have now: The assistant has already interpreted the task, chosen the editing path, and resolved the image-size mismatch with one quick confirmation.
Creative Assistant asking whether to match the source image aspect ratio before completing an image edit.
The assistant handles the setup automatically, but still surfaces one concise choice when the image size needs confirmation.
Step 4

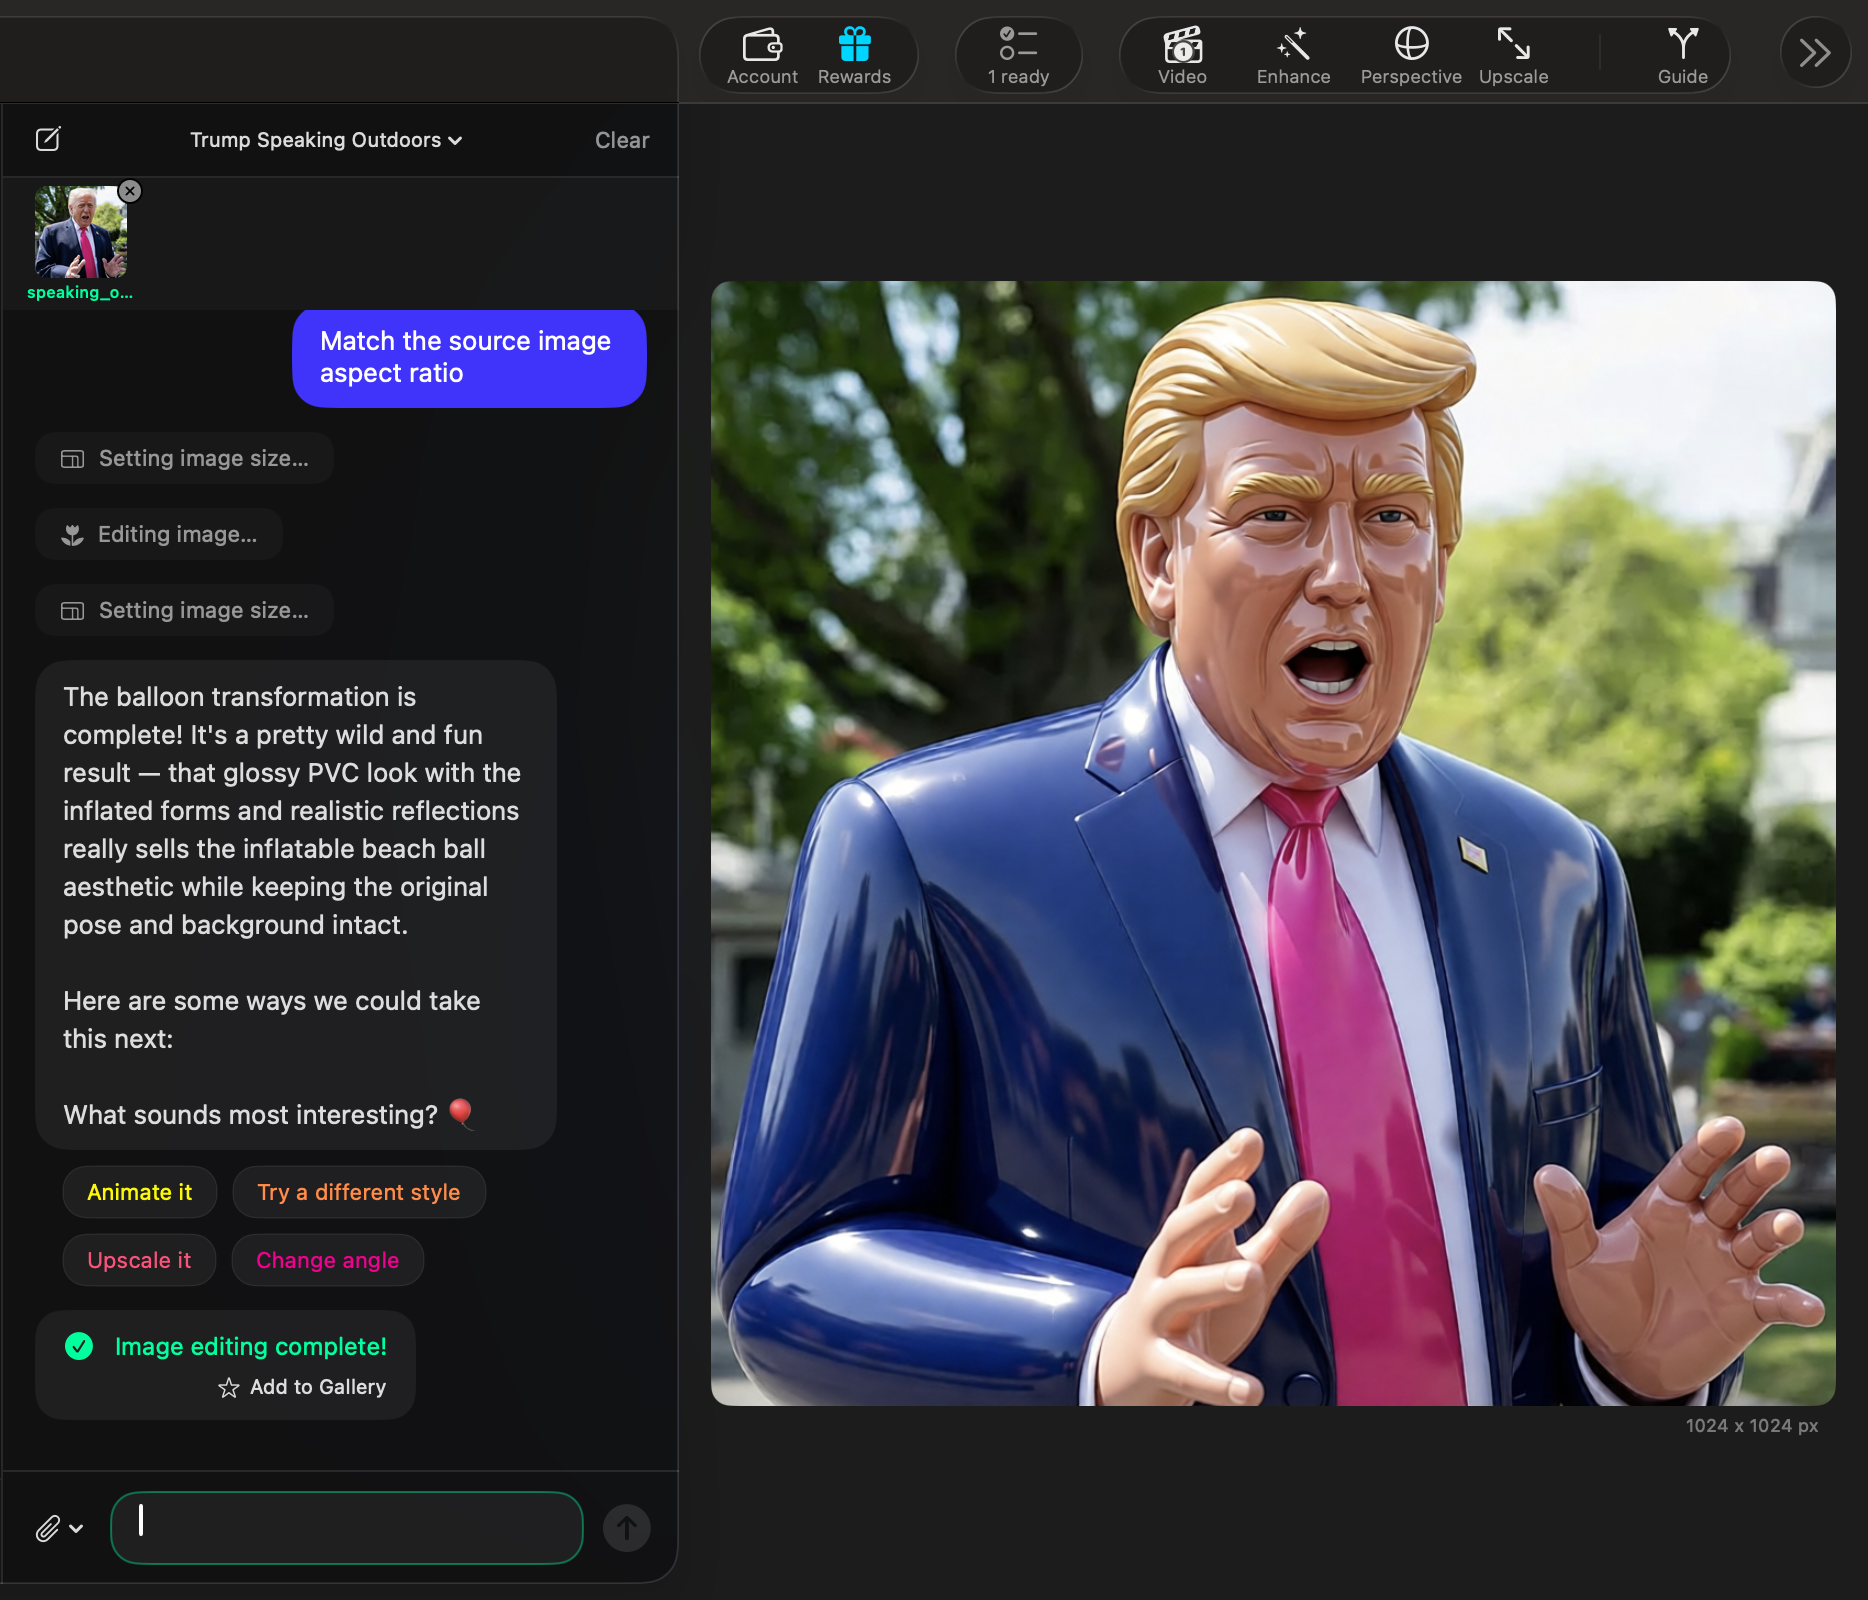
The assistant finishes the image edit and returns a ready output with smart follow-up suggestions.

This is where the whole promise becomes visible. The assistant edits the image, shows the completed result in the main canvas, and then suggests what you might want to do next.

In this example, it proposes Animate it, Try a different style, Upscale it, and Change angle. The output is not a dead end. It becomes the start of the next move.

Creative Assistant showing the completed balloon-style image edit together with follow-up suggestions like Animate it and Upscale it.
The assistant completes the edit, shows the final image, and keeps the workflow moving with clear suggested actions.

If you want to show the transformation more clearly, this is also the perfect moment to compare the original source image with the balloon version side by side.

What you should have now: A finished edited image, the reasoning behind the result, and a set of guided suggestions for the next creative step.
Before / After
Before After
Before After Original source photo before the Creative Assistant transformed it into a balloon character.
Balloon-style result after the Creative Assistant transformed the source image.
Drag anywhere on the image or use the slider to compare the original photo with the finished balloon transformation.
Step 5

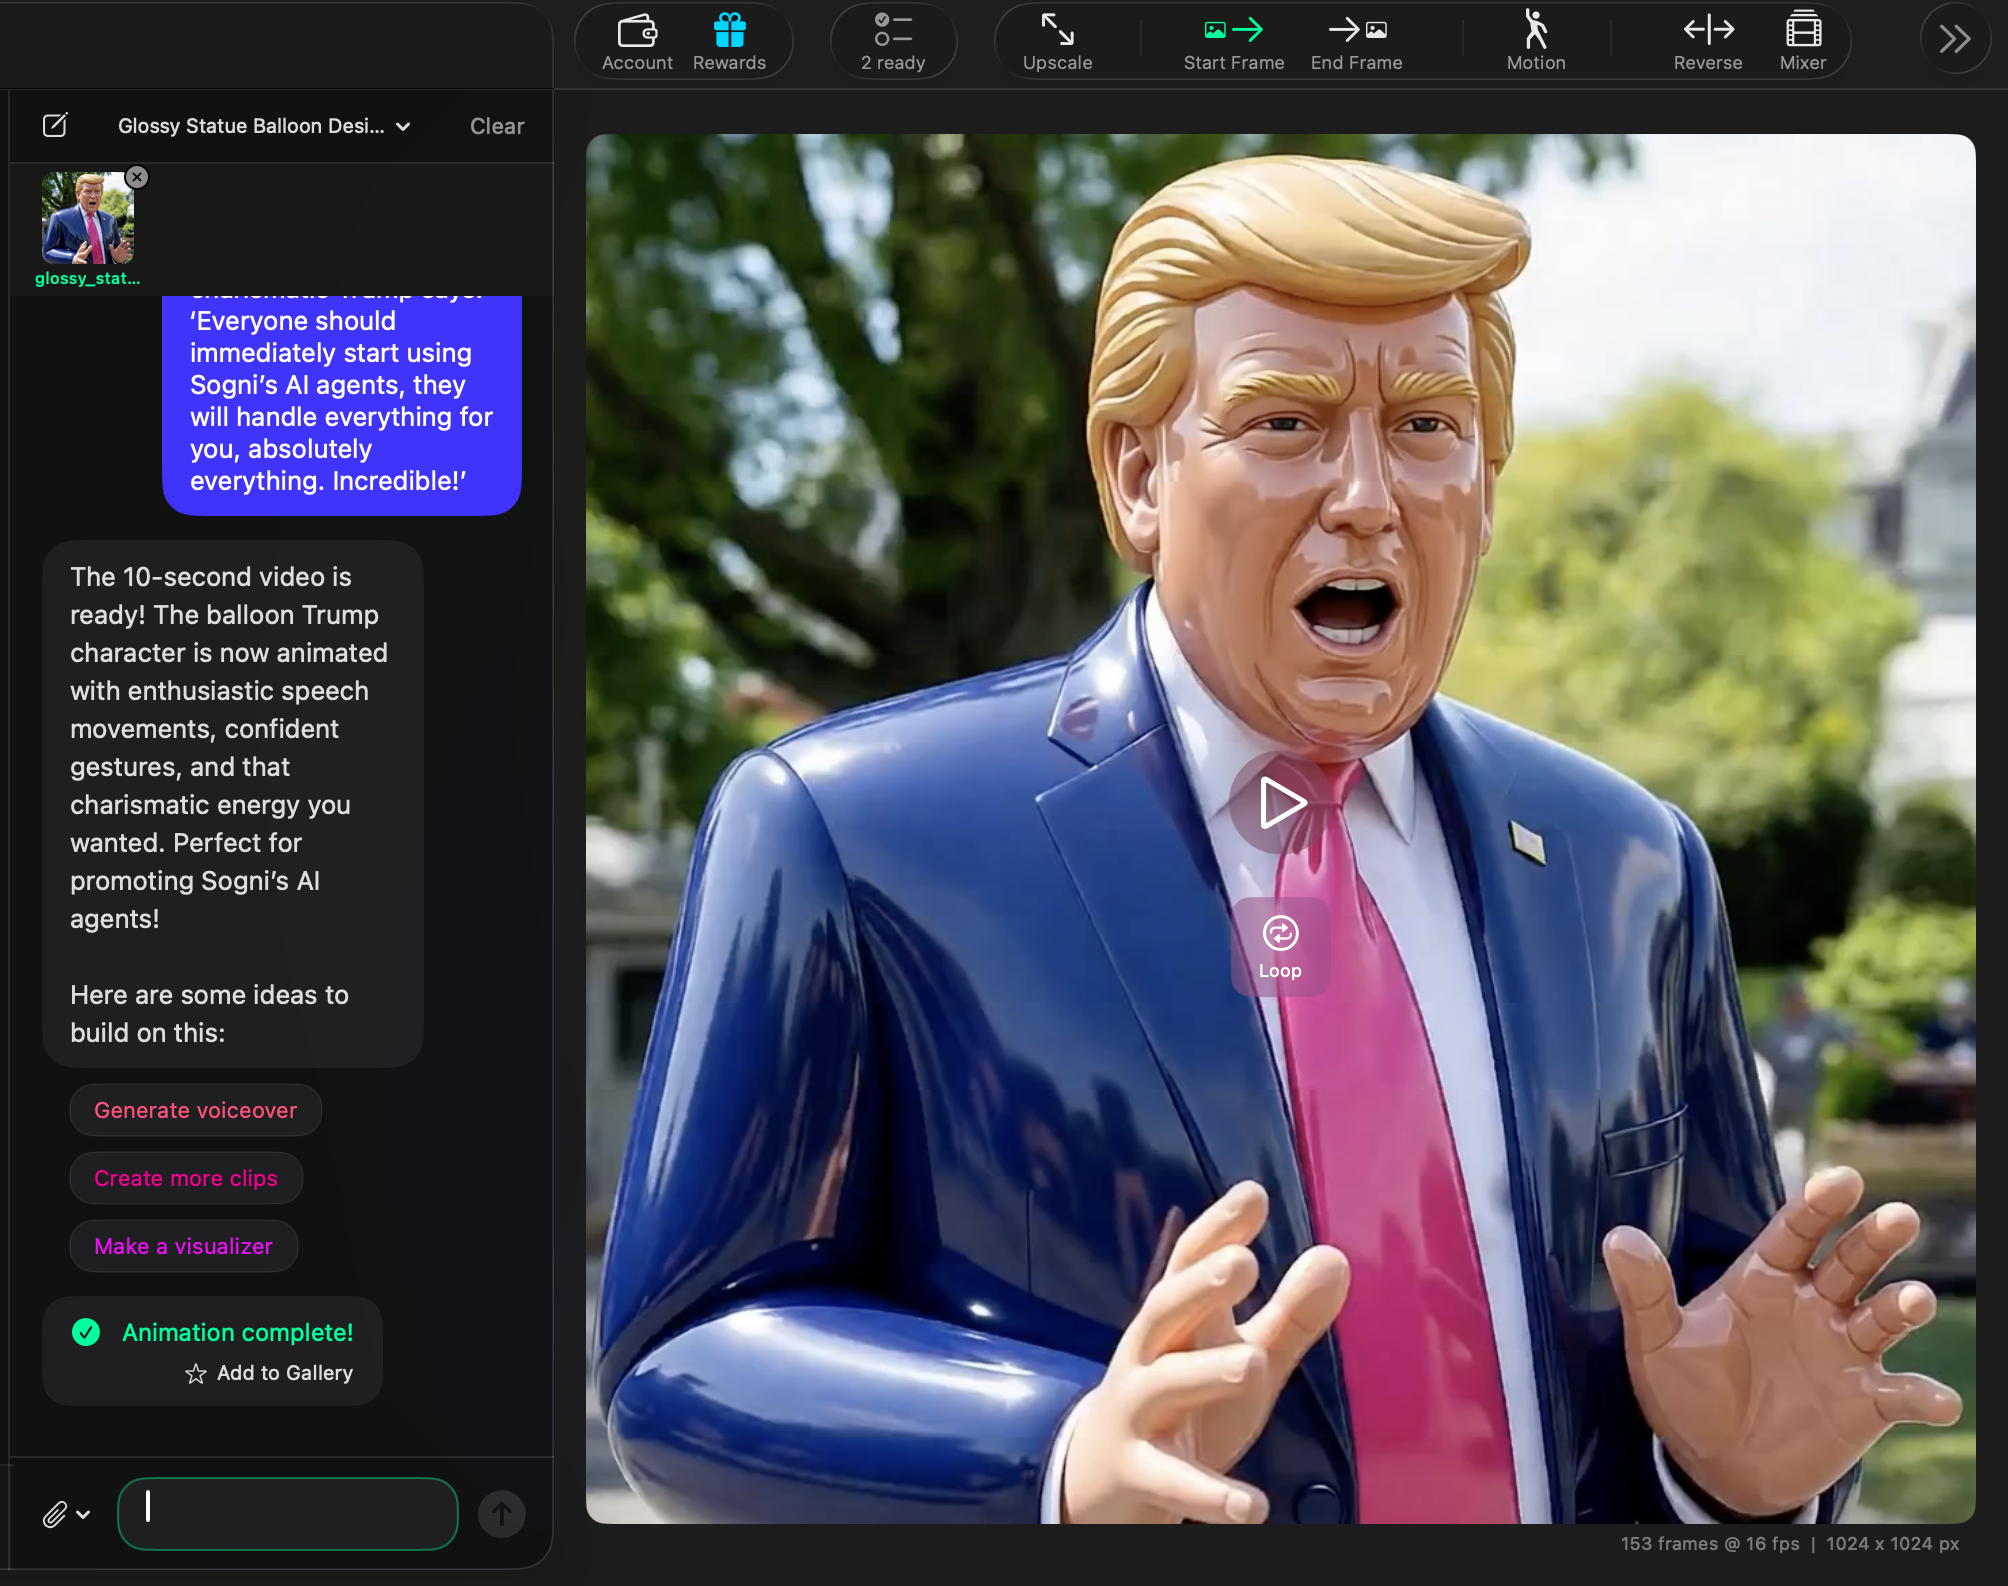
Use the finished image as the source, ask for the video in one more plain-language prompt, and peek into the background activity anytime.

Once the balloon-style image is ready, you can keep the same conversation going and ask the assistant to animate that exact result. You are still working in natural language. You are not switching into a separate technical workflow just to get motion.

This is what makes the Creative Assistant feel cohesive: one result becomes the input for the next step. The assistant keeps the character, the look, and the context in place while moving you from still image to video.

The same conversation carries the image into video, keeping the prompt, the generated clip, and the next actions visible in one place.

A balloon version of a charismatic Trump says: "Everyone should immediately start using Sogni's AI agents, they will handle everything for you, absolutely everything. Incredible!"

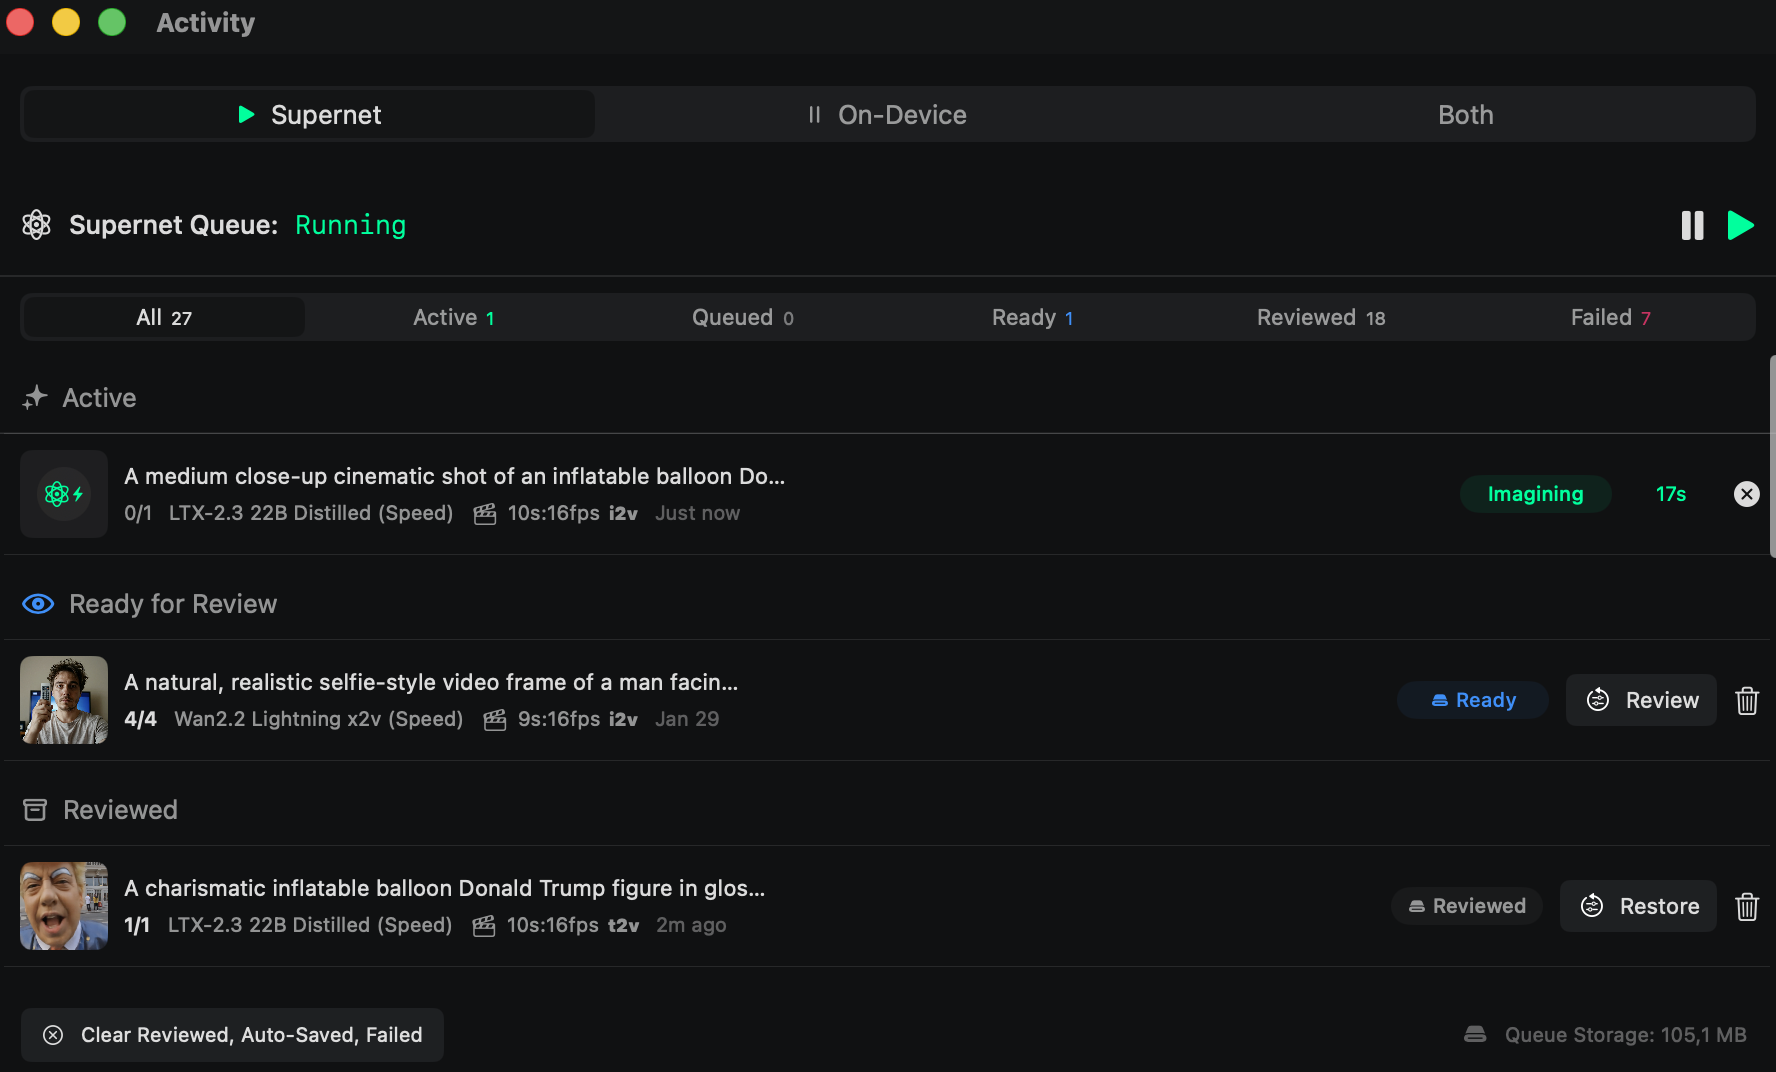
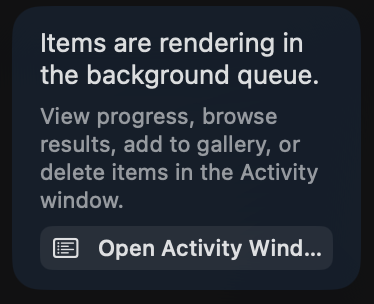
And if you want to check what is happening in the background while the job runs, you can always open the Activity view. It shows what is active, what is ready for review, what was already reviewed, and the queue details without breaking the flow.

Activity gives you a live view of what the agent is imagining now, what is ready next, and how the queue is moving.

What you can check here anytime: A live preview of the running job, plus enough system feedback to understand what the agent is doing without leaving the workflow.
Creative Assistant showing the finished balloon character video preview together with follow-up actions like Generate voiceover, Create more clips, and Make a visualizer.
Activity view in Sogni Studio showing the Supernet queue with one active generation, ready items, and reviewed items.
Activity window card showing that items are rendering in the background queue and can be opened from the Activity window.
Step 6

The assistant returns the finished video, explains the result, and gives you the next actions immediately.

When the animation is done, the assistant does not stop at the render. It summarizes what it created, keeps the finished clip visible in the main canvas, and suggests the next useful actions right away.

In this example, the follow-up ideas are Generate voiceover, Create more clips, and Make a visualizer. That keeps the workflow open and expandable instead of making you start over from scratch after every output.

What you should have now: A finished animated clip, a readable summary of what the assistant produced, and guided next-step options for building on top of it.

The Creative Assistant handles the setup. You stay focused on the idea.

This is the real shift: you can begin with conversation, move from image edit to video prompt, watch the agent work live in Activity, and still drop back into manual mode whenever you want.

Use the assistant when you want momentum. Use Guided mode when you want help plus controls. Use Manual mode when you want the classic hands-on path.

Keep the workflow moving with: